Learn how to easily grow and care for hollyhocks – tall, colorful flowers that bloom in mid-summer. Get tips on planting, soil, sunlight needs, and maintaining these old-fashioned beauties.
Hollyhocks are a gardening classic that have been brightening up cottage gardens for centuries. With their tall spikes and large, richly colored blooms, they make for an eye-catching mid-summer display. While often seen as old-fashioned, these hardy biennials are well worth growing for their uniquely vertical beauty and ability to attract pollinators to your garden.
If you’ve been thinking about adding hollyhocks to your flowerbeds, this guide will walk you through everything you need to know – from planting and soil requirements to seasonal care and dealing with potential pests.
What are Hollyhocks?
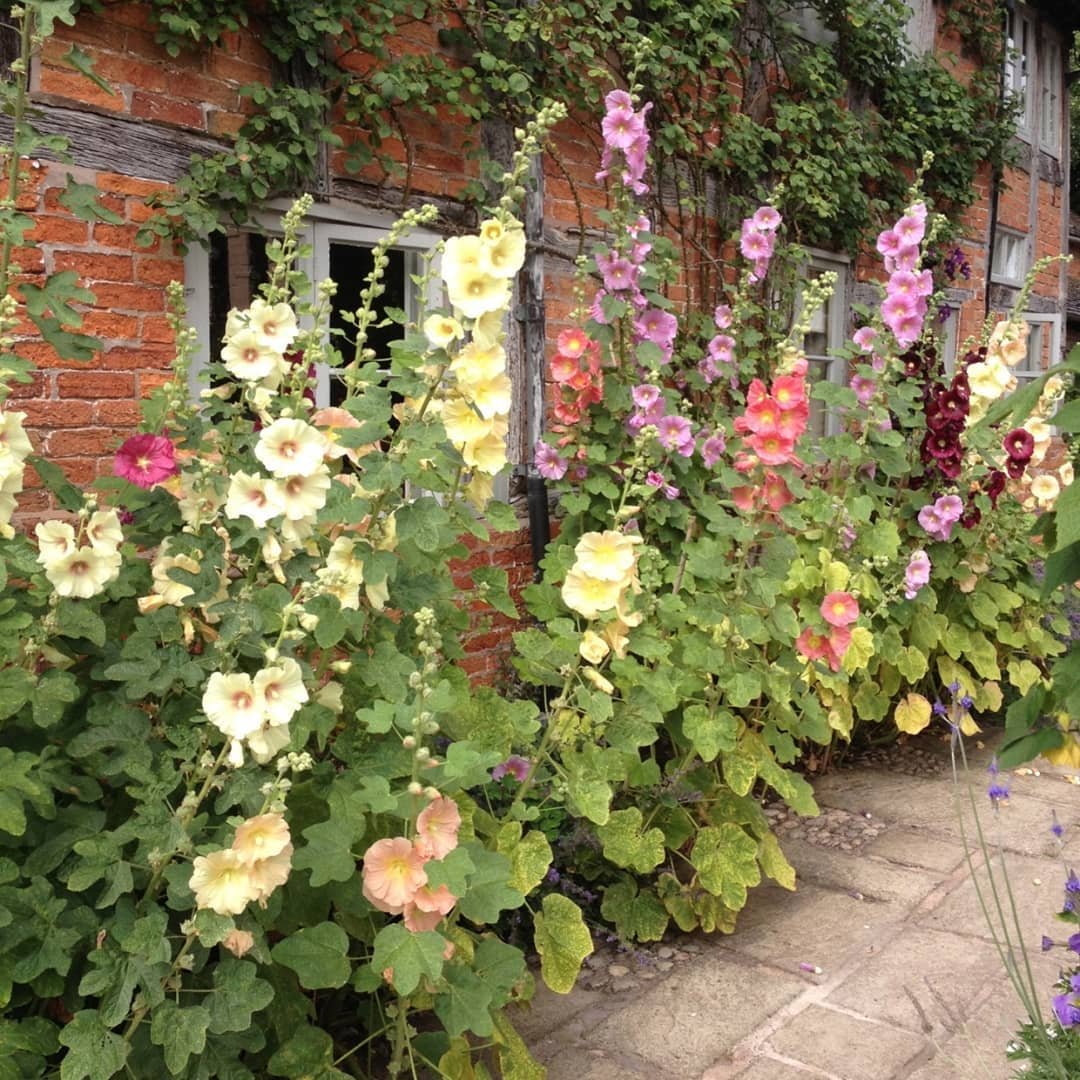
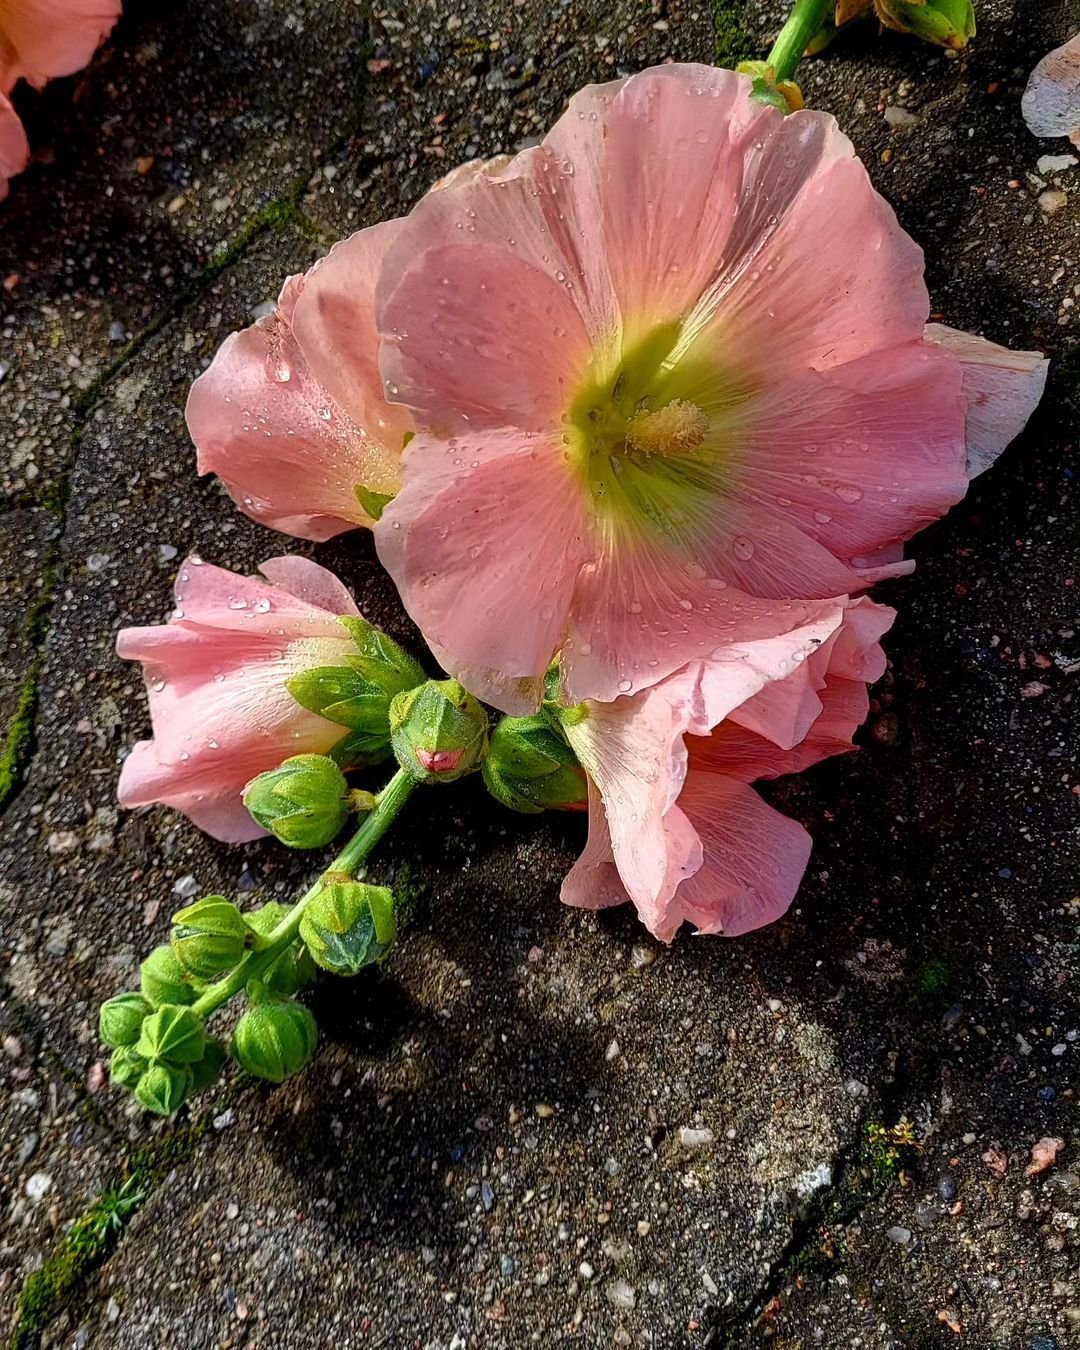
Hollyhocks (Alcea rosea) are tall, sturdy flowering plants that belong to the mallow family. They’re easily recognizable by their tall spikes or stalks that can reach up to 8 feet high, lined with large, flat blooms.
These flowers were first cultivated centuries ago and have been popular in English cottage gardens since Shakespearean times. Today, hollyhocks still evoke a delightfully old-world charm and make for striking, vertical accent plants.
While hollyhocks are technically biennials (meaning they have a two-year life cycle), they often self-seed so generously that you’ll likely have them returning year after year.
Hollyhock Varieties
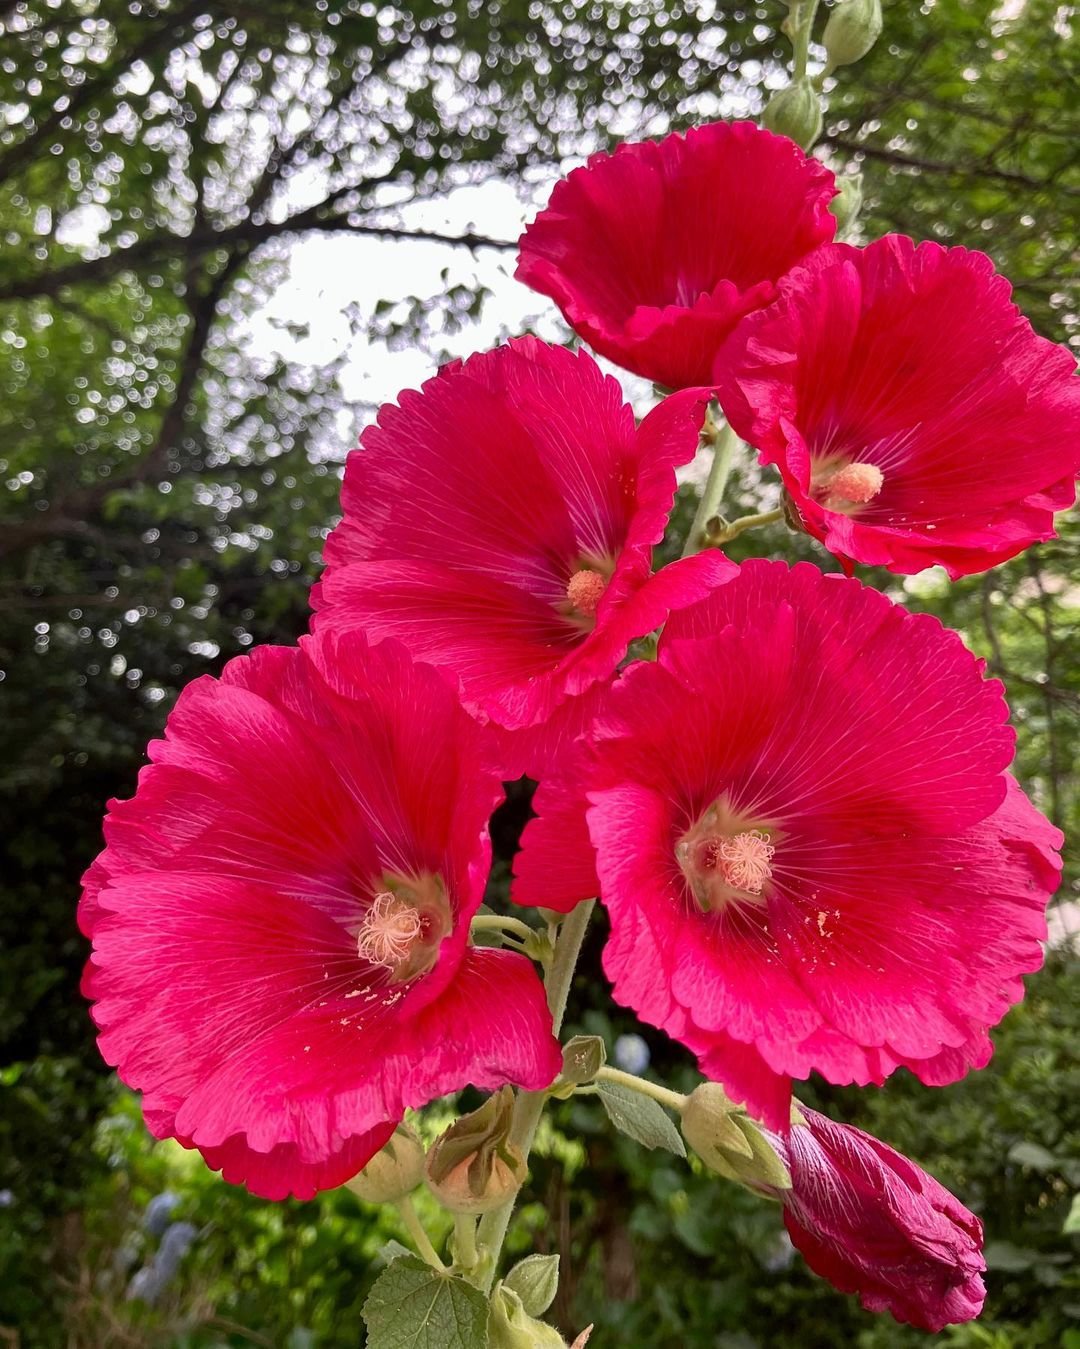
There are many lovely hollyhock varieties to choose from, with flowers that bloom in shades of red, pink, yellow, purple, and white – and some bi-colors too. Some popular choices include:
- Chater’s Double – Large, densely ruffled blooms in many colors
- Indian Spring – Single blooms in a mix of pastel shades
- Outhouse Hollyhock – Deep burgundy, nearly black single flowers
- Powderpuffs – Double apricot, red and yellow blooms
Beyond bloom color, you can also pick single, semi-double or double flowering forms. The more petals, the more densely ruffled and showy the flowers will appear.
When to Plant Hollyhocks
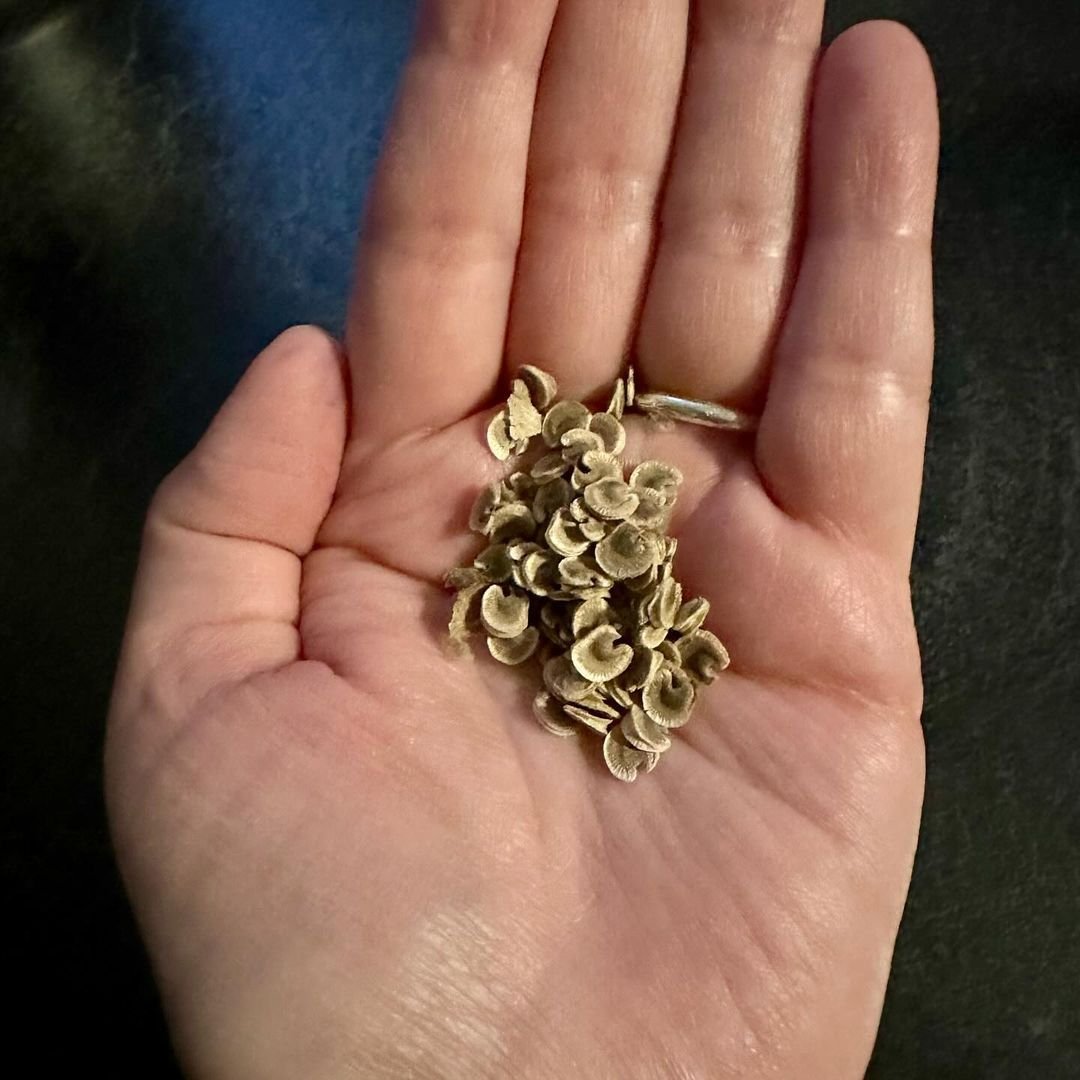
The ideal time to sow hollyhock seeds is in early summer, around late May or June. This allows the plants to establish themselves and settle in before going dormant over winter.
You can either direct sow the seeds outdoors or start them indoors 6-8 weeks before your last expected spring frost date. Transplant seedlings outdoors after hardening them off and spacing them 1-2 feet apart.
In mild winter regions, you can also sow seeds in late fall for flowers the following summer. Just make sure to mulch over winter to protect young plants.
Hollyhock Growing Conditions
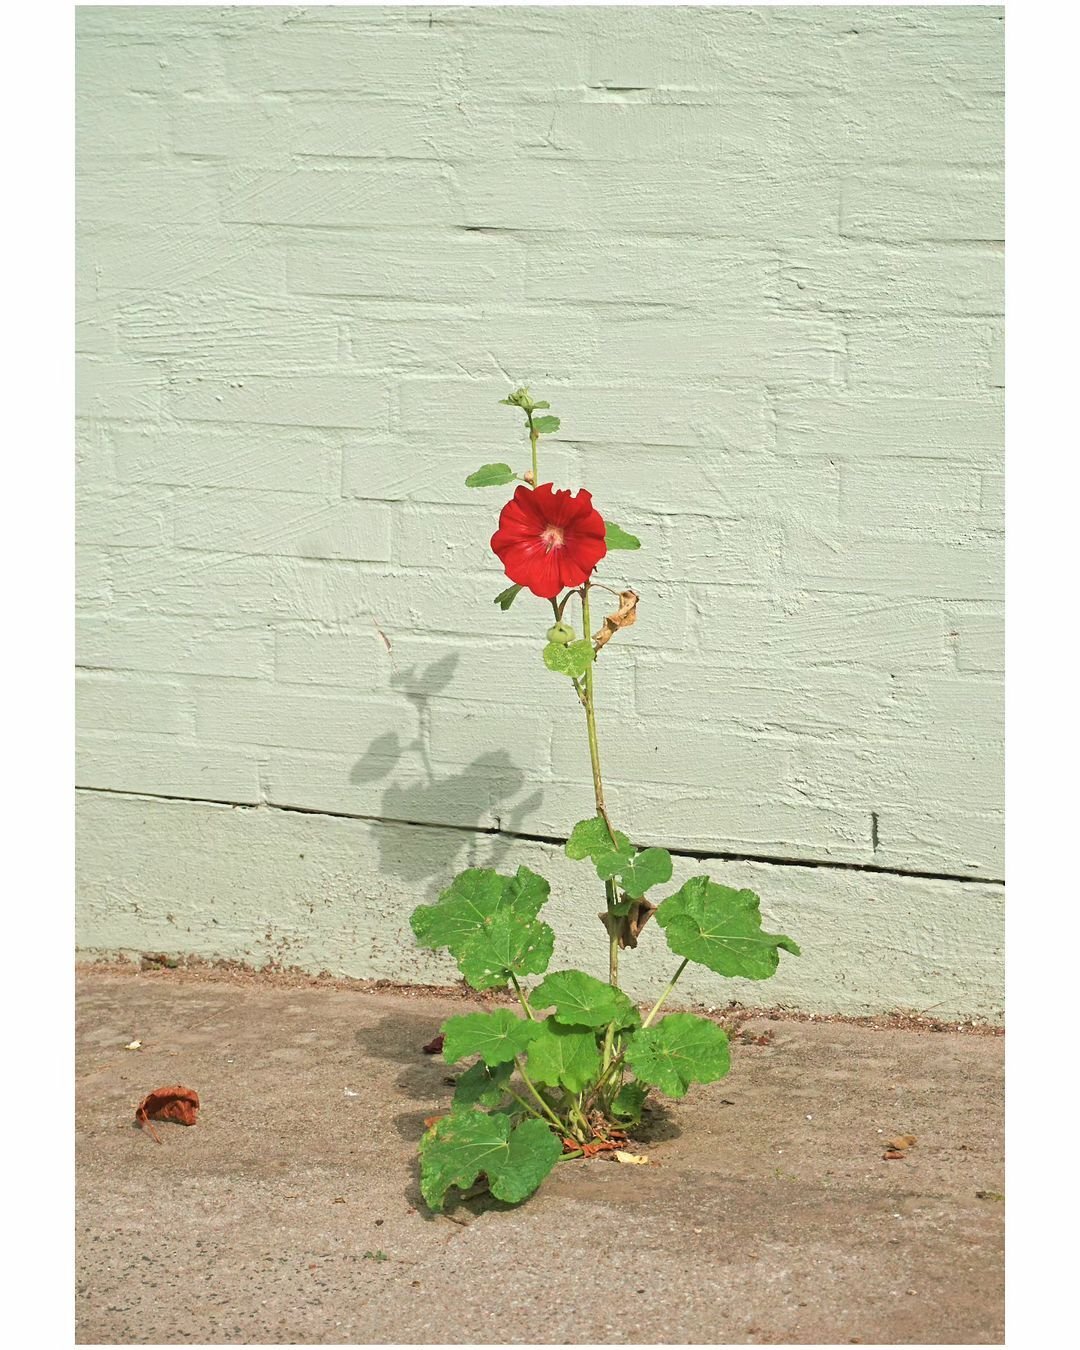
For best results, pick a spot with the following conditions when planting hollyhocks:
Sunlight
Hollyhocks need at least 6 hours of direct sunlight per day, though they’ll bloom most prolifically in full sun locations. Make sure to site them where they’ll get unobstructed sun exposure.
Soil
These flowering stalks grow best in nutrient-rich, well-draining soil. Amend your existing garden soil with compost or aged manure prior to planting to improve fertility and drainage.
Hollyhocks will struggle in compacted clay soil or excessively dry, sandy conditions. Aim for a loose, moisture-retentive loam.
Spacing
Space hollyhock plants 1-2 feet apart, depending on the variety. They’ll grow outward from a central clump as they mature, so allow enough room between plants.
At the back of garden beds or borders is an ideal spot for their tall flower spikes.
Water & Feeding
Keep hollyhock plants consistently moist their first season while they establish an extensive root system. Thereafter, they’ll tolerate some drought, but bloom best with regular watering during warm months.
Feed plants in early spring when new growth emerges using a balanced liquid fertilizer or compost tea. Avoid fertilizing again once buds form to prevent leggy growth.
Pruning & Deadheading
Remove any dead or diseased stems or foliage throughout the growing season using clean pruners. This keeps plants tidy and prevents fungal problems.
Deadhead spent blooms promptly by cutting the stalk down to a lower set of leaves. This keeps hollyhocks blooming longer rather than setting seed.
In late fall, leave the dead stalks in place over winter rather than cutting them back. New shoots will grow up from the base in spring.
Hollyhock Maintenance

Aside from routine care, there are some other important maintenance steps for hollyhocks:
Staking
Those towering flower spikes will need support, especially as buds develop and weigh them down. Use tall stakes or cages to prevent stems from falling over.
Winter Protection
In cold northern climates, apply a thick 4-6 inch layer of mulch over the plant’s crown in late fall. This protects the roots through freezing temperatures. Remove mulch gradually in early spring.
Potential Pests & Diseases
Hollyhocks are generally tough, resilient plants when grown in the right conditions. But they can sometimes suffer from issues like:
- Rust fungus – Prevent by avoiding overhead watering and spacing plants adequately.
- Leaf nematodes – Microscopic pests that cause distorted growth. Remove affected plants.
- Japanese beetles – Handpick off beetles or use neem oil spray if infestation is severe.
With some basic care and the right growing conditions, hollyhocks will reliably put on a spectacular summer show year after year. These graceful, old-fashioned bloomers make a perfect vertical accent for borders, foundations and cottage-style gardens!
Pingback: Growing Trailing Petunias: A Comprehensive Guide -
Pingback: Grow Your Own Wisteria from Seeds: A Step-by-Step Guide -
Pingback: A Guide to Growing & Caring for Verbena: Endless Color from Spring to Fall -
Pingback: - Aloe Plants: Comprehensive Guide to Growing Aloes
Pingback: How to Grow Hollyhocks: A Step-by-Step Guide -
Pingback: Hydrangeas : Unveiling the Horticultural Elegance