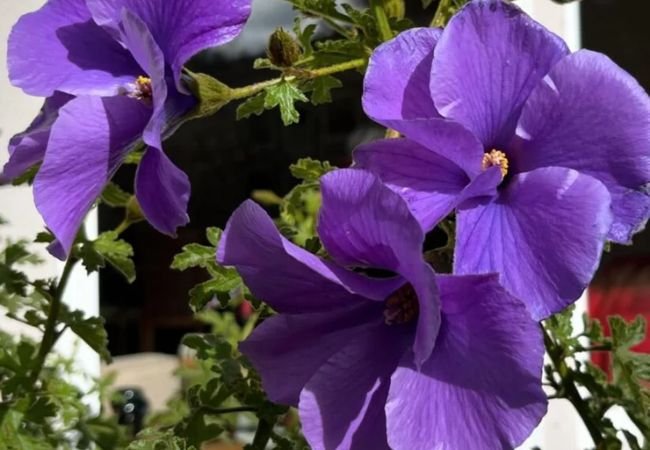
Blue Hibiscus : A Guide to Growing and Caring
Discover the beauty of Blue Hibiscus! Learn how to grow and care for this stunning flower in your garden. Get… Read More »Blue Hibiscus : A Guide to Growing and Caring
Discover the beauty of Blue Hibiscus! Learn how to grow and care for this stunning flower in your garden. Get… Read More »Blue Hibiscus : A Guide to Growing and Caring
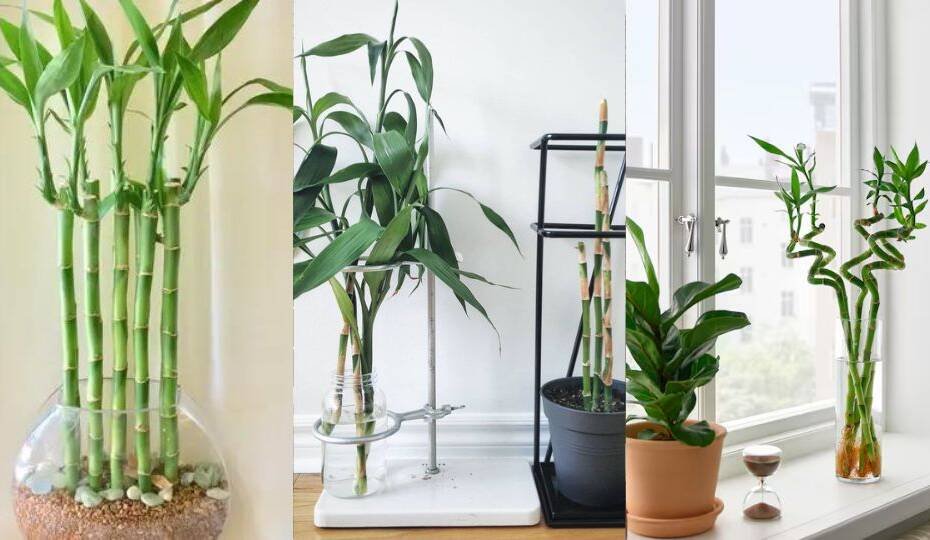
Discover how to easily grow and care for lucky bamboo as a low-maintenance indoor plant. Get tips on choosing, planting,… Read More »How to Grow and Care for Lucky Bamboo Indoors
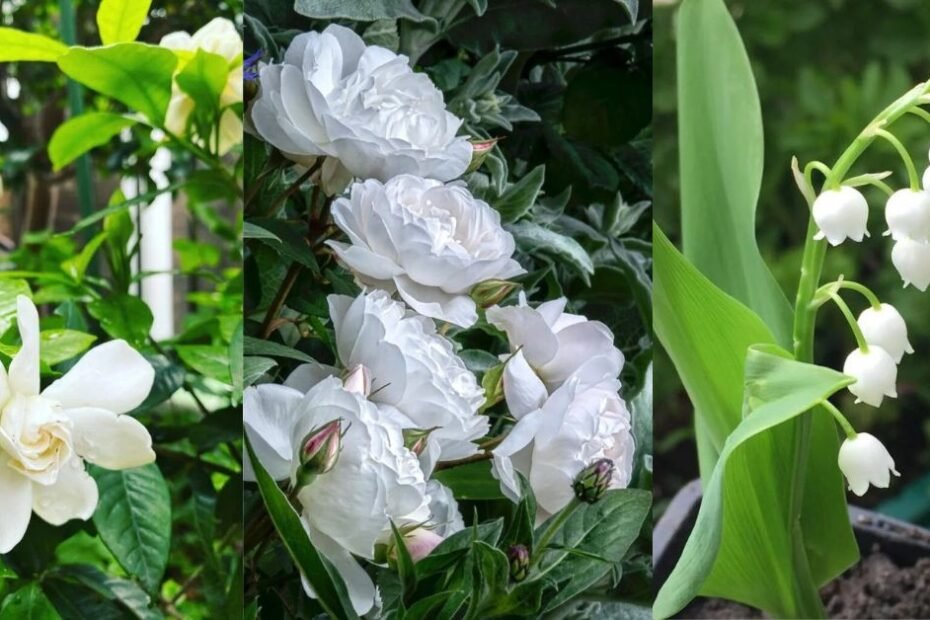
Discover 12 stunning white flowers that add bold beauty to any garden. Learn about these elegant blooms, including planting and… Read More »12 White Flowers That Add Bold Beauty to Any Garden
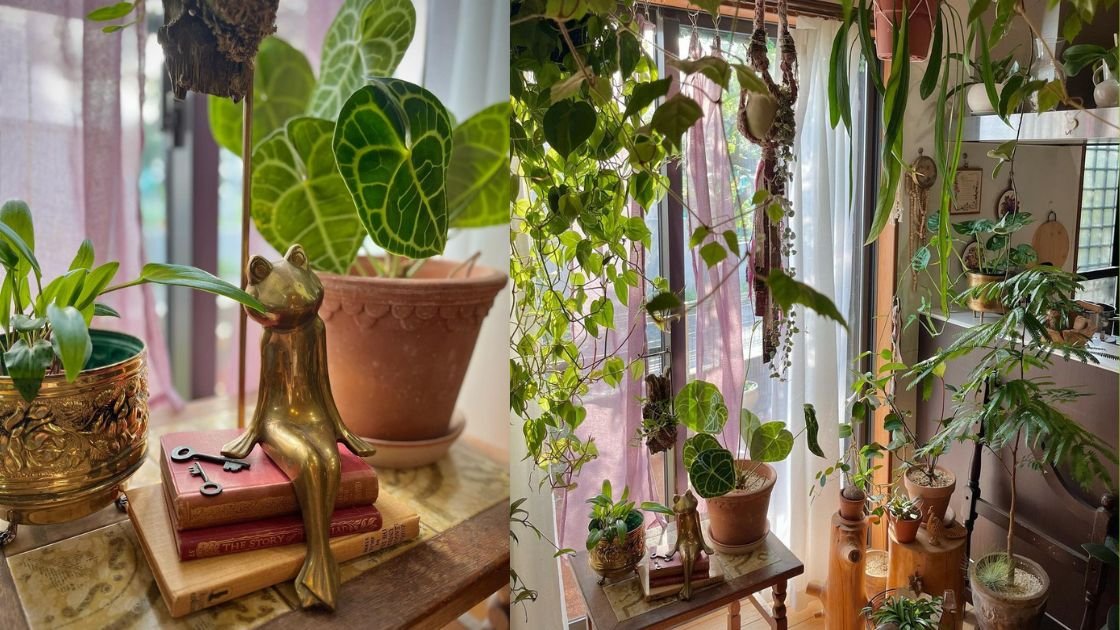
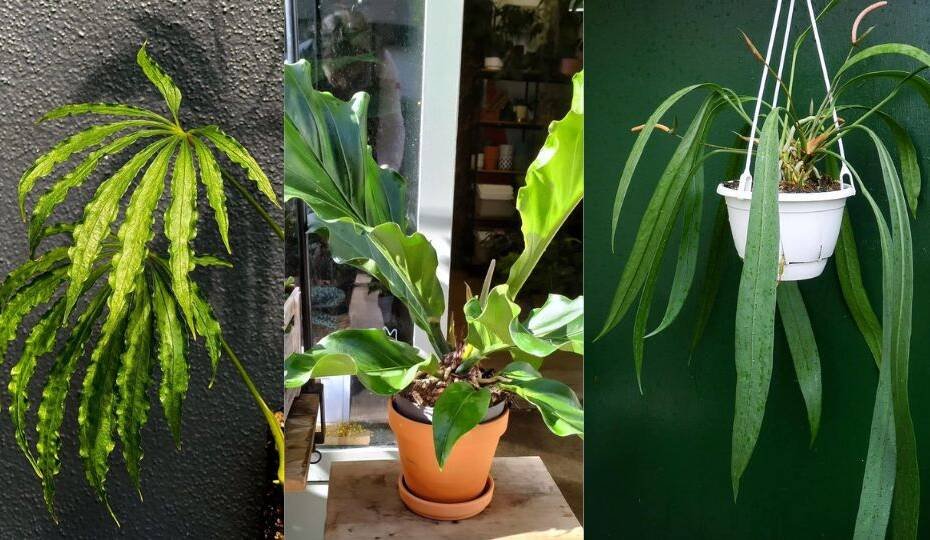
Unlock the secrets to choosing the best indoor plants for your home with this expert guide. Learn how to select… Read More »Secrets to Choosing the Best Indoor Plants for Your Home

Learn how to DIY your own reusable vacuum cleaner bag with this easy step-by-step guide. Save money and reduce waste… Read More »How to DIY Your Own Reusable Vacuum Cleaner Bag

Explore 15 beautiful Alstroemeria tattoo ideas to inspire your floral ink. Discover creative designs and meanings behind this vibrant flower,… Read More »15 Alstroemeria Tattoo Ideas to Inspire Your Floral Ink
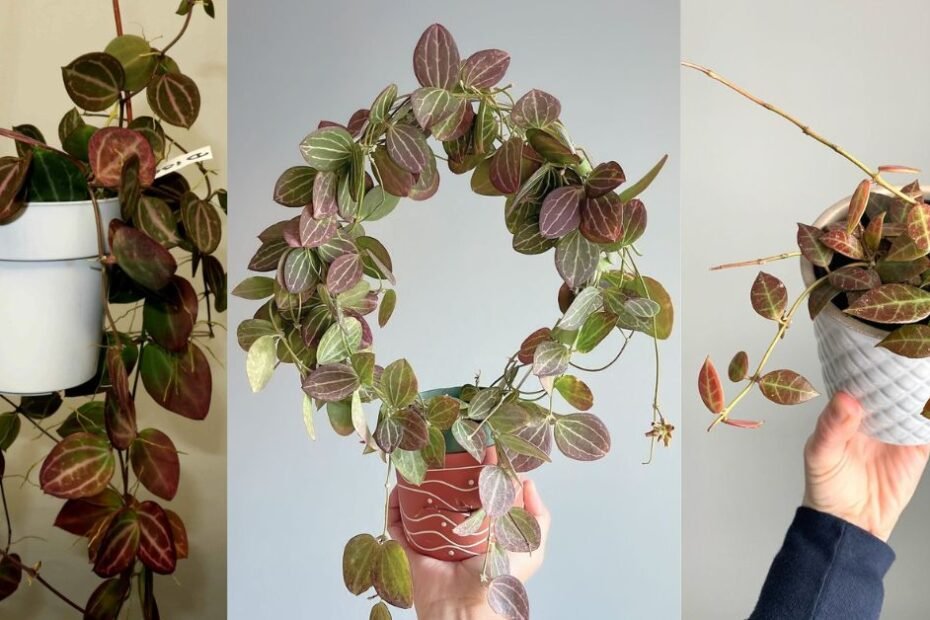
Discover the unique charm of Dischidia Hirsuta Red Leaf, a tropical beauty worth growing. Learn how to cultivate and care… Read More »Dischidia Hirsuta Red Leaf : A Tropical Beauty Worth Growing!

Discover creative and practical ways to repurpose banana peels, from gardening and composting to beauty hacks and household uses, making… Read More »Stop Throwing Out Banana Peels

Explore 21 stunning indoor plants with large leaves that add bold beauty to My home. Learn about large leaves eye-catching… Read More »21 Stunning Indoor Plants with Large Leaves
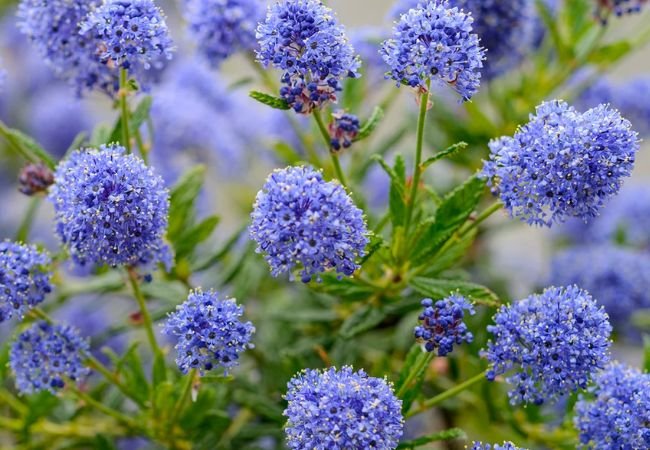
Ceanothus are striking flowering shrubs that add tons of color to gardens. Our guide covers how to grow vibrant, healthy… Read More »Ceanothus : Comprehensive Care and Maintenance Guide

Learn how to grow and care for the stunning Bridal Veil Plant, a beautiful flowering houseplant. This guide provides tips… Read More »Bridal Veil Plant : How to Grow This Beautiful Flowering Houseplant
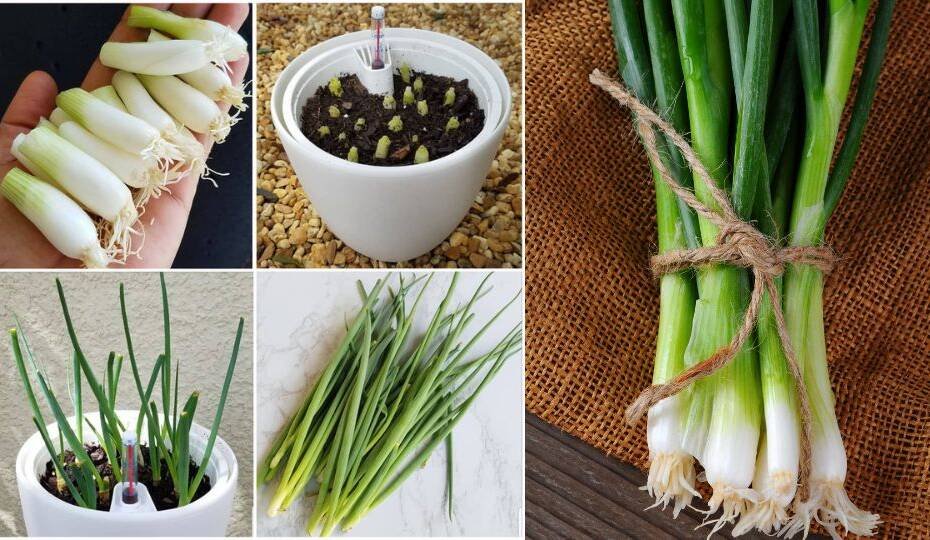
Discover how to grow endless green onions right in your kitchen! This simple guide will show you easy techniques to… Read More »Grow Endless Green Onions for Your Kitchen!
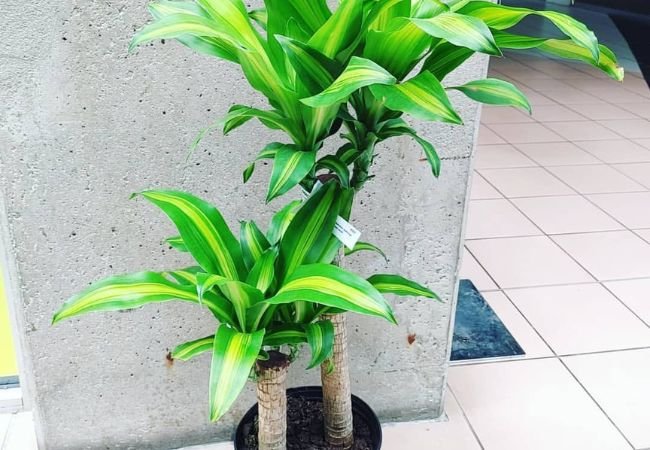
Discover essential tips and techniques in our comprehensive guide to flowering Mass Cane plants. Learn how to optimize care, provide… Read More »Guide to Flowering : Making Your Mass Cane Thrive
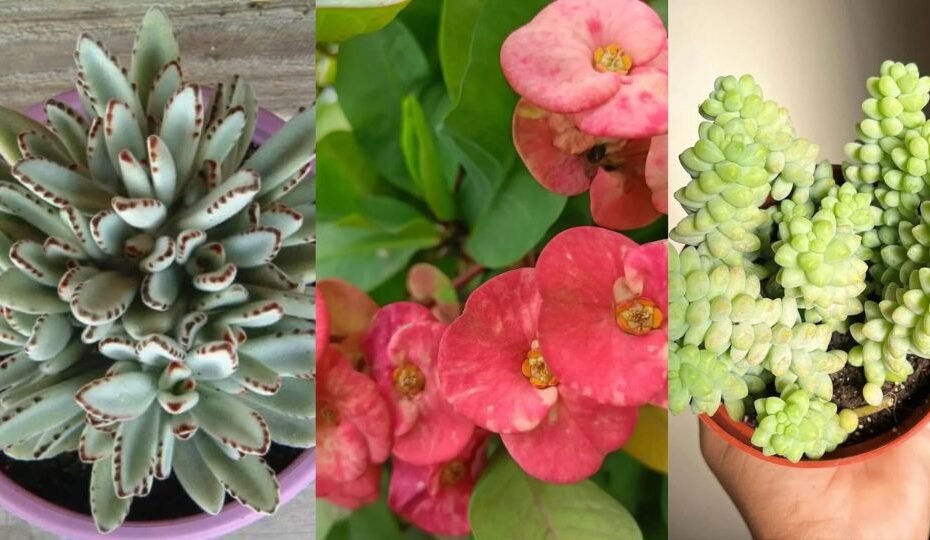
Explore 30 different types of succulents worth growing, from rosette-forming echeverias to trailing string of pearls and everything in between.… Read More »30 Types of Succulents Worth Growing
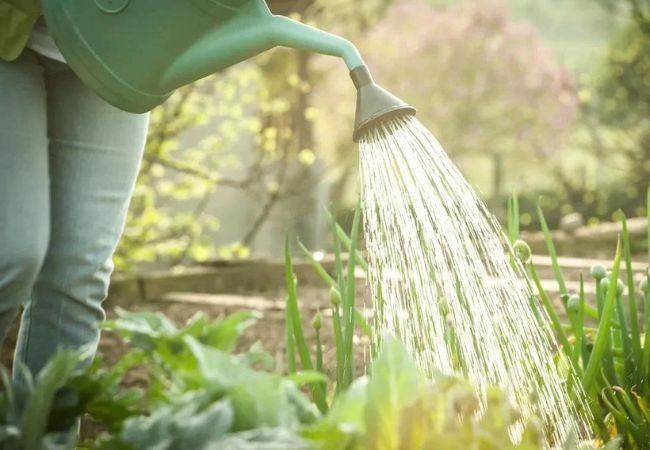
Discover the essential tips and techniques for properly watering plants with our ultimate guide. Learn how to avoid common mistakes… Read More »The Ultimate Guide to Watering Plants

Explore the enchanting world of orchids (Orchidaceae) in this comprehensive guide. Discover the meaning behind their names, the symbolism they… Read More »World of Orchids : From Name Meanings to Captivating Facts
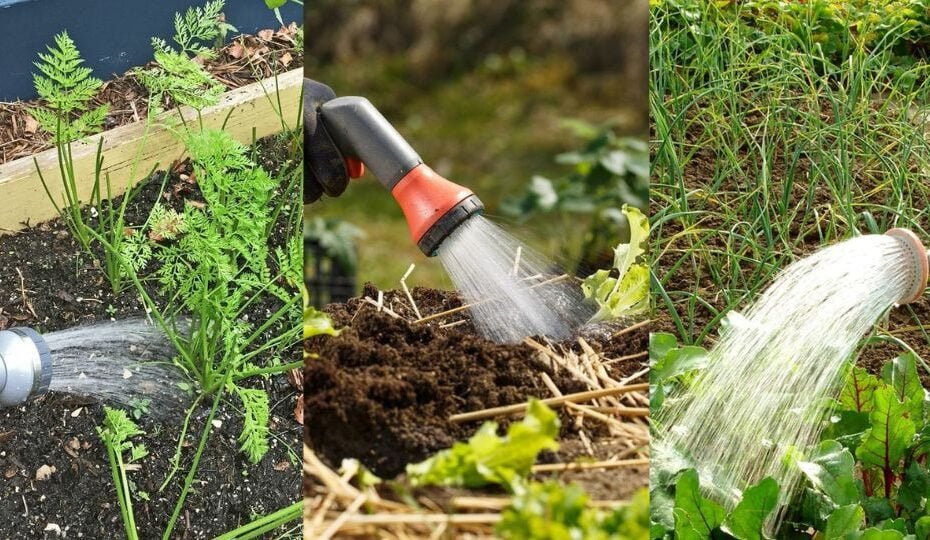
Learn About The Seven Watering Mistakes to avoid in your vegetable garden. Improve your gardening experience and grow healthy, thriving… Read More »Avoid These 7 Watering Mistakes in Your Vegetable Garden
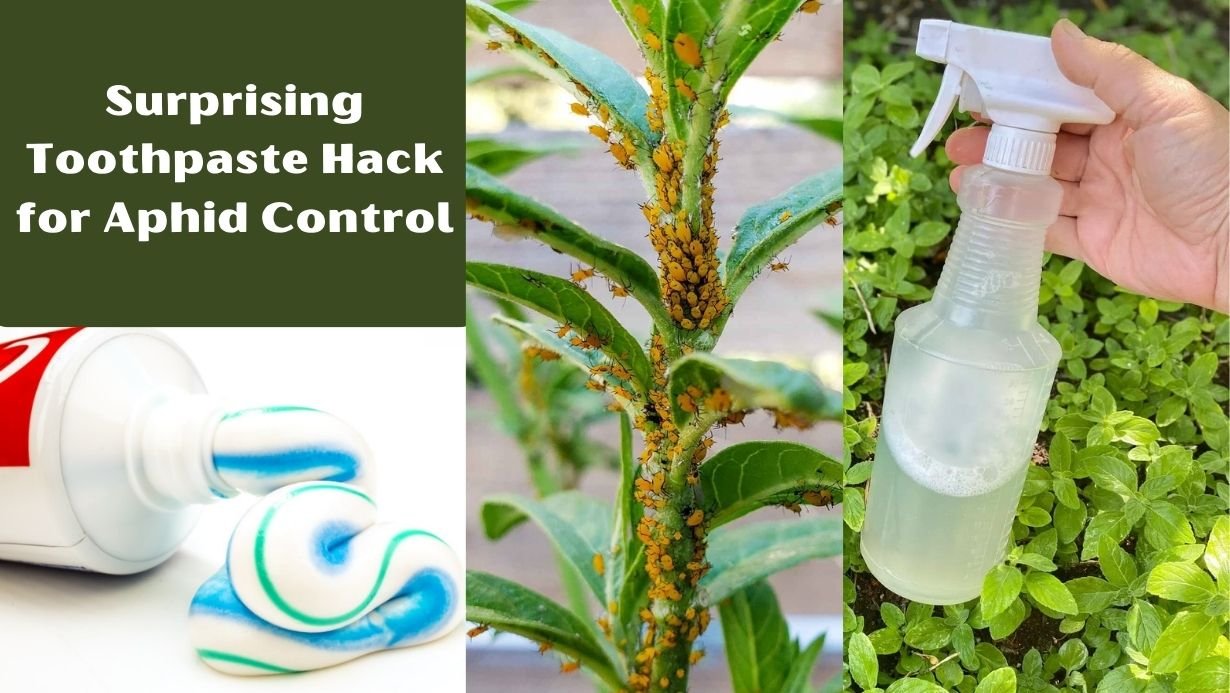
Discover a clever gardening hack: using toothpaste to control aphids. Learn how to use toothpaste for aphid control and protect… Read More »Surprising Toothpaste Hack for Aphid Control
Discover 32 breathtaking varieties of Anthurium, from classic reds to bold pinks, velvety blacks and unique twists and shapes. This… Read More »32 Gorgeous Anthurium Houseplants to Brighten Up Your Home

Learn how to plant, grow, and care for the stunning Calathea Roseopicta indoors with this comprehensive guide. Get tips on… Read More »Calathea Roseopicta Plant Care Guide : How to Grow This Beautiful Indoor Plant