Discover the joy of growing your own Cut Flower garden! Learn tips and tricks for planning, planting, and maintaining a vibrant cutting patch to enjoy fresh, beautiful blooms all season long.
There’s nothing quite like the beauty and fragrance of fresh-Cut Flower adorning your home. While store-bought bouquets are lovely, there’s a special charm in growing your own blooms for cutting—a charm that captures the essence of the garden itself. Creating a dedicated Cut Flower garden allows you to cultivate a steady supply of fresh, seasonal flowers to enjoy in vases and arrangements all year round. In this comprehensive guide, we’ll explore the steps to plan, plant, and maintain your very own cut flower paradise.
Planning Your Cut Flower Garden

Site Selection
The first step in creating a successful cut flower garden is choosing the right location. Ideally, your cutting patch should receive at least six hours of direct sunlight each day. Full sun exposure is best for promoting vibrant blooms and sturdy stems. Additionally, select a site with well-draining soil, as most cut flowers thrive in moist but not waterlogged conditions.
Designing the Layout
When planning the layout of your cut flower garden, consider both aesthetics and functionality. A classic design involves planting flowers in rows or blocks, making it easy to access and harvest the blooms. Alternatively, you can create a more informal, cottage-style garden by intermingling different varieties in a whimsical arrangement.
Choosing Flower Varieties
The beauty of a cut flower garden lies in its diversity. Select a mix of annuals, perennials, and bulbs to ensure a continuous supply of blooms throughout the growing season. Some excellent choices for cutting gardens include:
Annuals: Zinnias, sunflowers, cosmos, and sweet peas offer vibrant colors and prolific blooms.
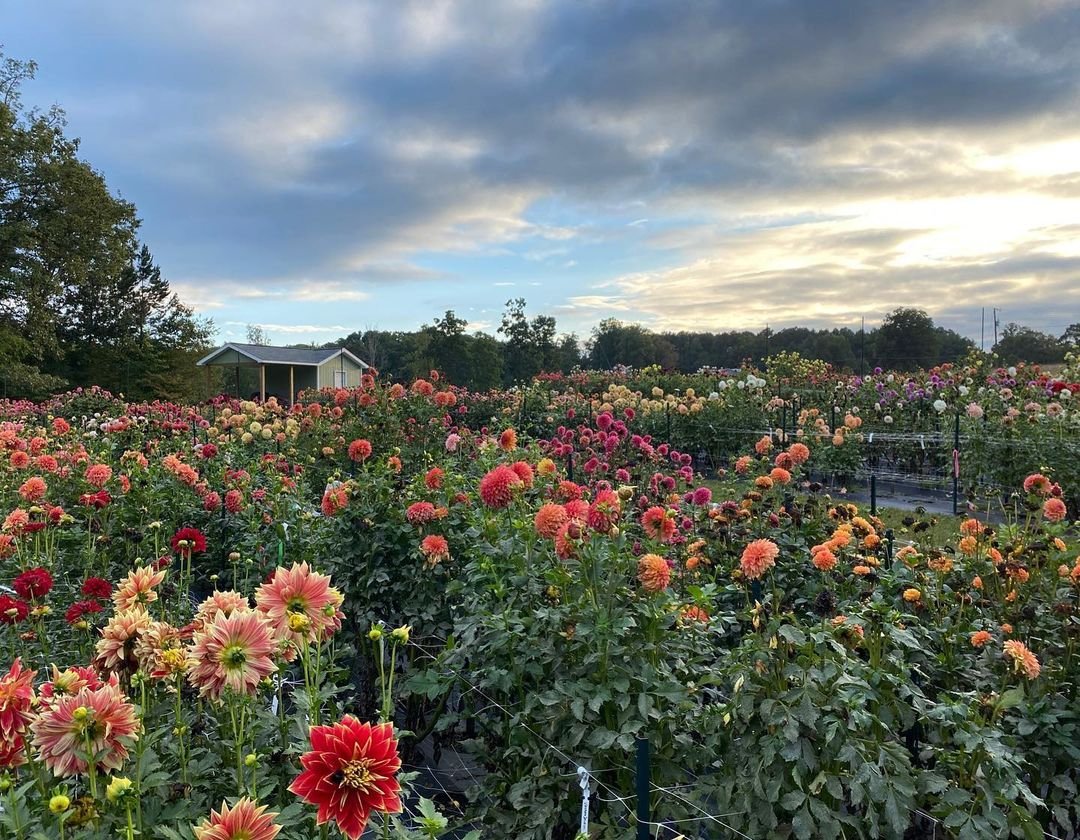
Perennials: Peonies, dahlias, and chrysanthemums are classic cut flower favorites that return year after year.
Bulbs: Tulips, daffodils, and lilies add early spring color and fragrance.
Planting and Maintenance

Soil Preparation
Before planting, it’s essential to prepare the soil properly. Begin by removing any existing weeds and debris, then amend the soil with compost or well-rotted manure to improve drainage and fertility. A slightly acidic soil pH between 6.0 and 7.0 is ideal for most cut flowers.
Planting Techniques
Follow the specific planting instructions for each variety, paying close attention to spacing requirements. Proper spacing not only allows for adequate air circulation but also ensures easy access for cutting stems without damaging neighboring plants.
Watering and Fertilizing
Most cut flowers have moderate to high water needs, so be sure to water your garden regularly, keeping the soil consistently moist but not waterlogged. Applying a balanced, water-soluble fertilizer every four to six weeks will promote healthy growth and abundant blooms.
Cutting and Harvesting

Timing is Key
The best time to cut flowers is in the morning, after any dew has evaporated but before the heat of the day sets in. This helps ensure the longest vase life for your cut stems.
Proper Technique
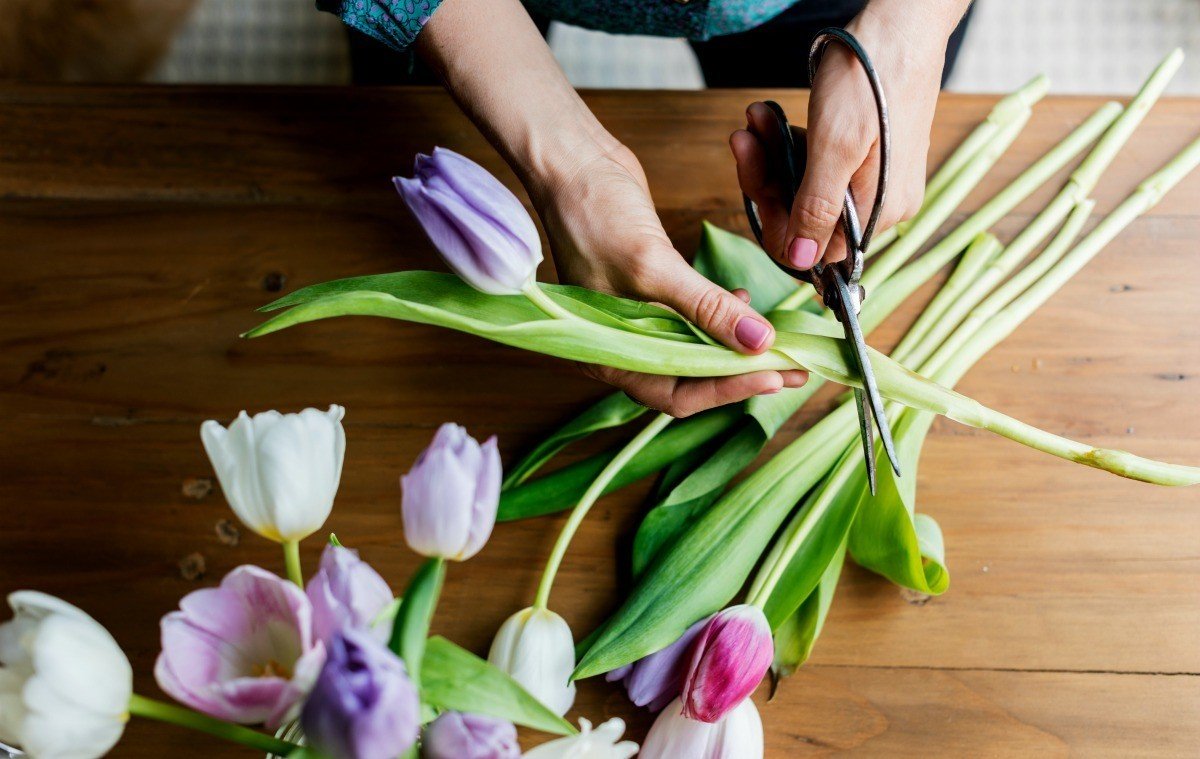
When cutting stems, use sharp, clean pruners or scissors to make a clean, angled cut. Avoid crushing or tearing the stems, as this can impede water uptake. Cut stems at the desired length, leaving enough foliage on the plant to continue photosynthesizing.
Conditioning and Arranging

Conditioning Cut Flowers
Once you’ve harvested your blooms, it’s important to condition them properly to extend their vase life. Remove any foliage that would be submerged in the vase, then recut the stems at an angle and immediately place them in clean, lukewarm water. Allow the flowers to drink for a few hours before arranging them.
Creating Arrangements
When it comes to arranging your freshly cut flowers, the possibilities are endless. Explore different vase shapes and sizes, and experiment with combining various colors, textures, and heights for visually striking displays. Don’t be afraid to get creative and let your personal style shine through!
Extending Vase Life
To maximize the longevity of your cut flower arrangements, change the water every few days and recut the stems at an angle. You can also add a floral preservative or a few drops of bleach to the water to inhibit bacterial growth and keep your blooms looking their best for longer.
Drying and Preserving

Drying Cut Flowers
If you find yourself with an abundance of blooms, consider drying them for long-lasting enjoyment. Air-drying is a simple and effective method: gather small bunches of flowers, remove any foliage, and hang them upside down in a cool, dark, and well-ventilated area until completely dry.
Preserving Cut Flowers
Alternatively, you can preserve cut flowers using a desiccant solution or silica gel. This process helps retain the flowers’ natural colors and shapes, making them perfect for crafts, decorations, and even potpourri.
Creating a cut flower garden is a rewarding and enjoyable endeavor that allows you to surround yourself with the beauty and fragrance of nature all season long. By following the tips and guidelines outlined in this guide, you’ll be well on your way to cultivating a vibrant cutting patch tailored to your personal preferences and gardening style. So why not embrace the joy of growing your own bouquets? Your home (and your heart) will thank you for the fresh, colorful blooms adorning every room.
Pingback: Secrets of Growing Prickly Pear Cactus in Your Garden -
Pingback: 20 Flowers for a Cutting Garden Gardeners School
Pingback: How to Create a Cut Flower Garden: A Guide to G...
Pingback: Rainbow Roses: Unveiling the Mystery Behind Vibrant Hues
Pingback: How to Grow Hollyhocks : A Step-by-Step Guide - Gardener's School