Learn how to grow your own hops for homebrewing or ornamental vines with this step-by-step guide covering planting, trellising, pruning, harvesting and more.
Are you a homebrewer dreaming of using freshly harvested hops from your own backyard? Or maybe you just love the idea of growing this vigorous, climbing vine. Either way, hops make an excellent addition to any home garden. While it takes some effort to get them established, the plentiful harvest of hop cones is well worth it. Here’s everything you need to know about growing hops at home.
Here’s the short information chart for Hops:
| Attribute | Information |
|---|---|
| Botanical Name | Humulus lupulus |
| Common Name | Hops |
| Plant Type | Herbaceous perennial vine |
| Zones | USDA Zones 3-8 |
| Sun Exposure | Full sun to partial shade |
| Soil Type | Well-drained, loamy soil |
| Watering | Regular water, especially during |
| dry spells | |
| Growth Habit | Climbing vine |
| Height/Spread | Up to 20 feet tall, 6-12 feet wide |
| Special Features | Cones used in brewing beer |
About Hops

Hops (Humulus lupulus) are hardy, herbaceous perennial plants native to temperate regions of the northern hemisphere. In the brewing world, the cone-like flowers (properly called strobiles or hops) are prized for the resins they contain which provide bitterness, aroma and flavor to beer.
The hops plant itself is a vigorous, rapidly growing vine in the same family as cannabis. The rough, scratchy vines can reach 25 feet or more in a single growing season by clinging and wrapping tightly in a clockwise direction around anything nearby.
While hops are dioecious (separate male and female plants), only the cone-producing female plants are grown for brewing or ornamental purposes. The male plants just produce plant litter without cones, so they are discarded.
Climate and Site Selection

Hops grow best in those regions with relatively cool, moist summers and cold winters. They need a dormant period of several months when the vines die back completely to the rootstock each year.
Choose a sunny, wind-protected spot for your hop garden or “hopyard” that gets at least 6 hours of direct light daily. Hops require well-drained soil rich with organic matter and nitrogen. Slightly acidic soil in the 6.0 to 7.0 pH range is ideal.
Avoid planting too close to trees, shrubs or structures since the vigorous vines will quickly overgrow and smother anything nearby as they race upwards towards the sun.
Planting Hops

Hops are most often planted from root cuttings called rhizomes rather than seeds. These chunky, tan-colored rhizomes can be purchased from many online suppliers or garden stores in early spring.
Plant your rhizomes in early spring as soon as the ground can be worked, spacing them 3 to 4 feet apart in rows 8 to 10 feet apart. Dig a trench or hole about 6 inches deep and lay the rhizomes horizontally, covering with 2 to 3 inches of soil. As the sprouts emerge, continue mounding soil around the base.
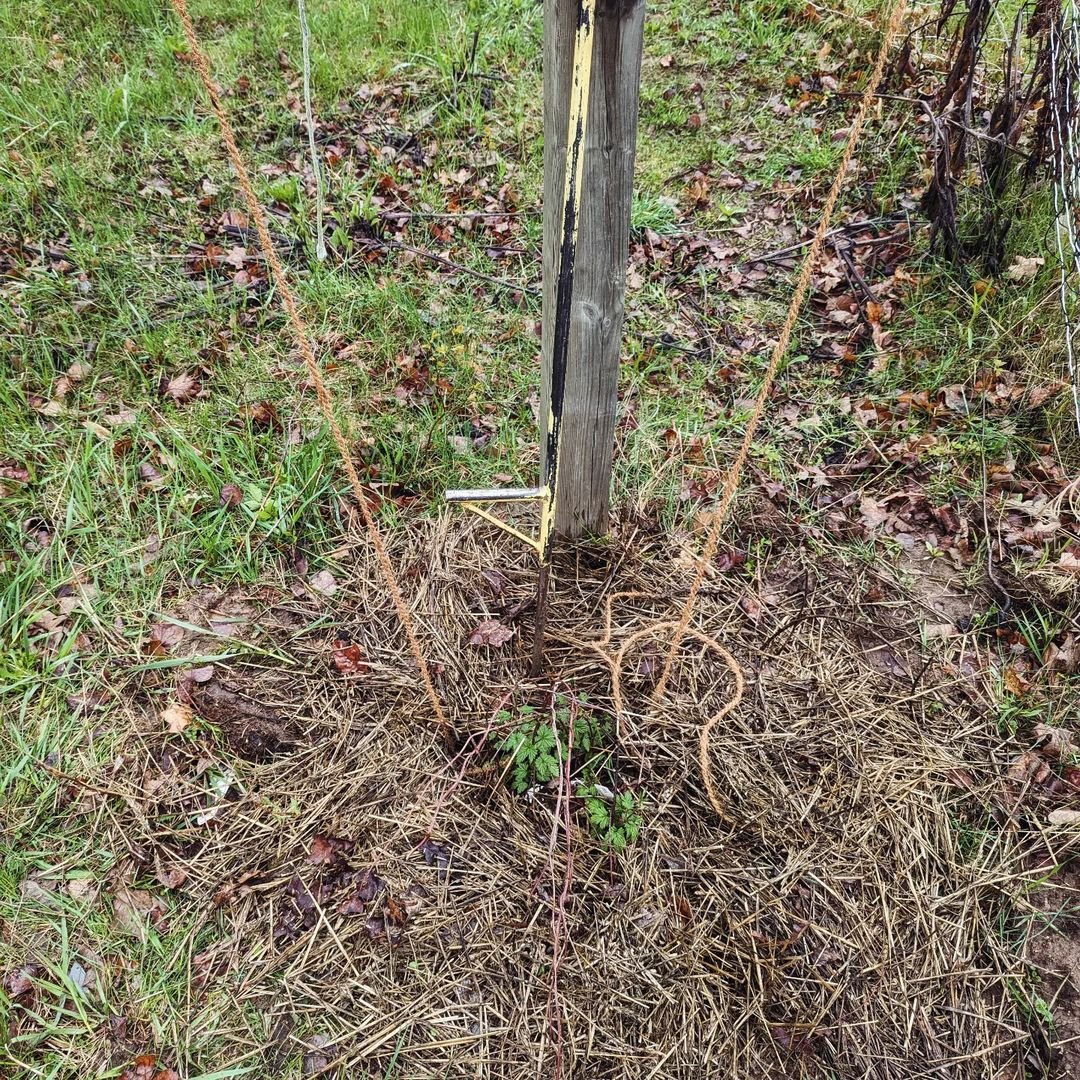
Within a few weeks, vigorous vines will begin rapidly shooting upwards, so it’s important to have your trellis or support system in place beforehand. You can either plant a “hopyard” row style or use a raised cylinder or cone support for single hop hills.
Trellising and Support

To reach their full potential and produce abundantly, hops require a strong, tall trellis system that allows the vines to climb freely in a clockwise direction towards the sun. A common setup uses an overhead cable or wire strung between tall wooden end posts.
The vines are then trained to grow vertically up coir, hemp or metal twine hung from the overhead wire. Space each twine support about 1 foot apart to prevent overcrowding.
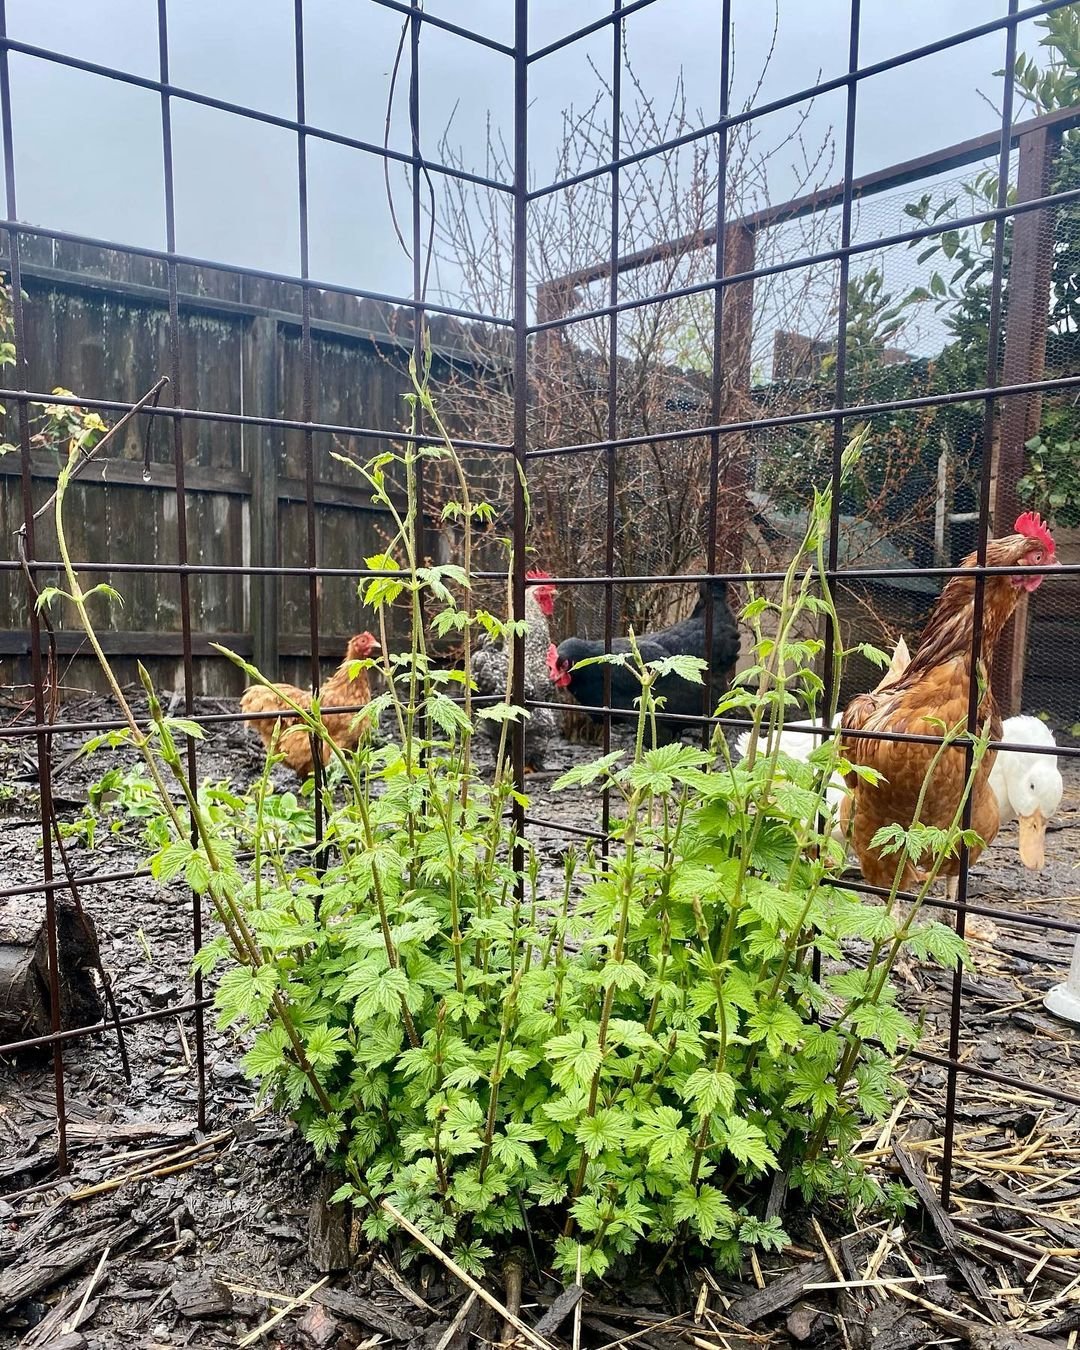
An alternative approach uses a cone or cylinder-shaped frame with strings emanating from a central pole. This provides more support and allows for denser planting.
No matter what type of trellis you use, make sure it’s sturdy enough to withstand the weight of the heavy, vigorously climbing vines. Add additional bracing as needed.
Hop Plant Care
Once your hop plants are established, there are a few key aspects of plant care that will help ensure a bountiful harvest. Let’s cover the basics:
Watering
Keep the soil consistently moist, providing about 1-2 inches of water per week either through irrigation or natural rainfall. Avoid drought stress.
Fertilizing
Hops are heavy feeders. Apply a balanced fertilizer like 10-10-10 in early spring when new shoots emerge. Continue feedings every 4-6 weeks.
Training Vines
As new vines sprout each spring, guide them clockwise onto the trellis by hand. Remove any wild, wayward vines from the base.
Pruning
Once hop vines have reached the top of the trellis, pinch off a few inches from the growing tips to promote side shoot/spurs for cone production.
Pest and Disease Management
Common hop pests include aphids, spider mites and downy mildew. Use row covers early season and treat with approved pesticides if needed.
Hop Cone Harvest

The hop cones will begin forming on the female vines in mid-to-late summer, anywhere from 12-20 weeks after spring growth began. When they reach full maturity and acquire that classic “hoppy” aroma, it’s time to start harvesting.
Using garden shears or a sharp knife, cut down each vine near its base and remove all cones by hand or by machine threshing. Wear gloves to avoid coming into contact with the sticky, aromatic lupulin resins inside.
After harvesting, the hop cones need to be dried by laying them out on screens or using a food dehydrator set between 100-140°F. They’re properly dried when the papery bracts easily fall off the central stem.
Once dried, hops can be stored vacuum-sealed or in food-grade plastic bags in the freezer for several years until you’re ready to brew.
Growing Hops as an Ornamental Plant
Even if you aren’t a homebrewer interested in using your homegrown hops for beer, the beautiful vines make attractive ornamental plants. Their twining nature combined with the cone-covered stems in summer and vibrant fall foliage create lovely garden accents.
Simply grow hops similarly to morning glories or other climbing vines – provide them with sturdy vertical support and rich, nutrient-dense soil. The more sunlight and consistent moisture, the better they’ll flourish.
Whether you plan to brew with them or just enjoy them aesthetically, growing hops at home is a rewarding experience. With some patience and proper trellis support, those decorative yet useful hop cones will be yours to harvest year after year.