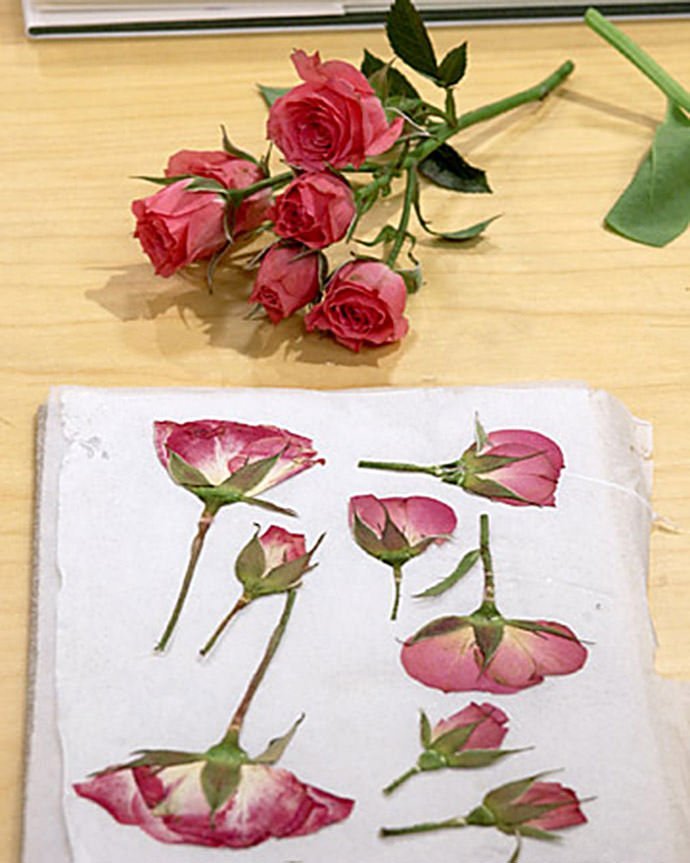
Unlock the secrets to preserving the timeless beauty of roses through the art of pressing. Whether you’re a crafting enthusiast or someone looking to capture cherished moments, pressing roses is a delightful and beginner-friendly project that promises not only long-lasting memories but also endless creative possibilities.

How to Press Roses With a Flower Press
For the avid flower presser, investing in a traditional flower press is a game-changer. Here’s a step-by-step guide:
- Prepare Your Flower Press:
- Lay a piece of cardboard at the press base.
- Layer three to five sheets of paper on top, adjusting based on the thickness of your flowers.
- Arrange roses on the paper, whether by petals, heads, or a combination.
- Add another set of paper and a piece of cardboard.
- Pressing Process:
- Repeat the layering until your press is full.
- Secure the top cover with wingnuts, ensuring a snug fit.
- Store the press in a warm, dry area with proper air circulation.
- Check and change paper every three days until roses are fully pressed and dry (2-6 weeks).
- Tip for Damp Flowers:
- If flowers feel damp, use Flynn’s trick: introduce a fan to speed up the drying process.
How To Grow And Care For ‘Julia Child’ Roses
How to Press Roses With a Book

For those opting for a simpler approach using items at hand, pressing roses with a book is equally effective:
- Book-Based Pressing:
- Open a large book and line it with paper.
- Place roses, ensuring they are not touching.
- Repeat the process until the book is full.
- Weight Down the Book:
- Put the book in a warm, dry space with air circulation.
- Add weight on top (more books or a heavy object).
- Maintenance:
- Swap out paper every three days for 2-6 weeks until fully pressed and dry.
How To Grow And Care For Climbing Roses
How to Press Roses With a Microwave Press

If time is of the essence, the microwave press offers a swift alternative:
- Microwave Press Method:
- Open the press and lay roses face down.
- Remove some petals to aid flattening.
- Clip in the sides and microwave in intervals until fully dried.
How to Press Rose Petals
For a delicate touch, consider focusing solely on rose petals:
- Petals-Only Technique:
- Carefully remove petals and lay them on paper rows.
- Press using your preferred method.
- Make small cuts on each side of the petal before pressing for a completely flat result.
How to Press Rose Heads and Stems
Explore options beyond petals with rose heads and stems:
- Head and Stem Pressing:
- Trim stems and remove excess leaves.
- Place heads face down on paper.
- Press using your preferred method.
Additional Tips for Pressing Roses
- Color Matters: Deep hues like red, purple, toffee, orange, and yellow press exceptionally well.
- Deconstruct for Lighter Roses: Disassemble lighter roses petal by petal for better color preservation.
- Freshness is Key: Press fresher flowers for optimal results.
- Reconstruction Tips: When reconstructing, follow Synod’s advice: start with five petals, build inward, stack three petals for dimension, and use Mod Podge for a secure finish.
In your quest for rose pressing mastery, consider experimenting with different techniques to find the one that best suits your needs. Happy pressing!
Pingback: Hybrid Tea Roses : Meaning, Symbolism, and Interesting Facts - Gardener's School
Pingback: Mason Jar Flowers: Creative Ideas for Rustic Floral Arrange
Pingback: White Rose Symbolism : Unveiling the Meaning Behind the Pure