Worms are amazing creatures that can help you turn your kitchen scraps into a valuable fertilizer for your plants. This is called vermicomposting, and it’s a simple and eco-friendly way to reduce waste and enrich your soil. In this article, you’ll learn How to make a worm bin, what kind of worms to use, what to feed them, and how to harvest the worm castings.

What is a worm bin?
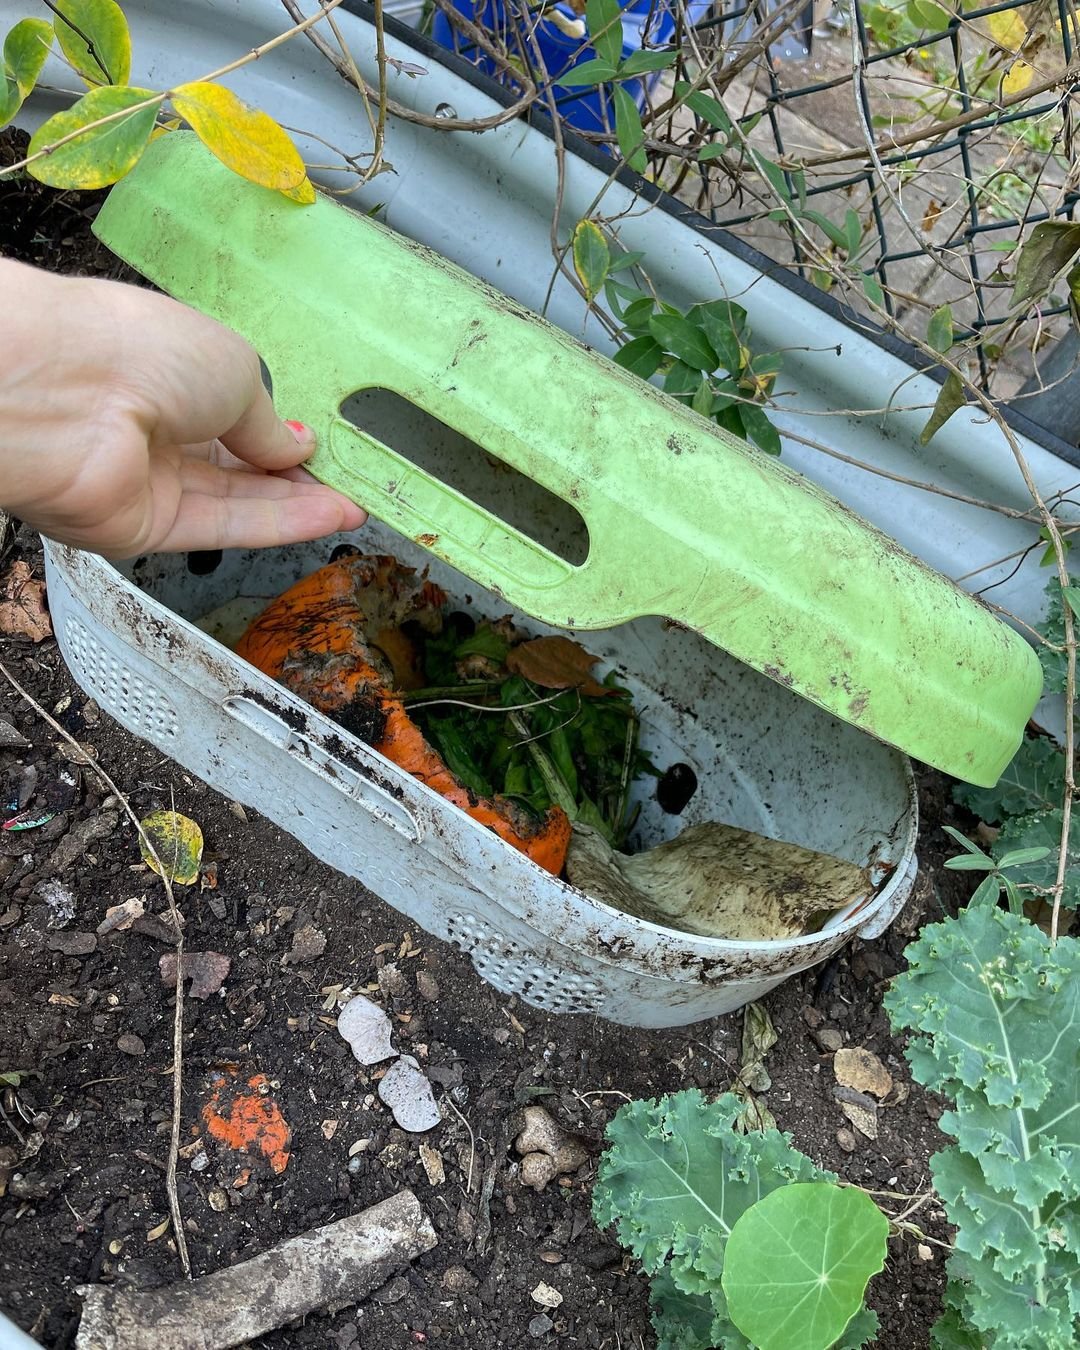
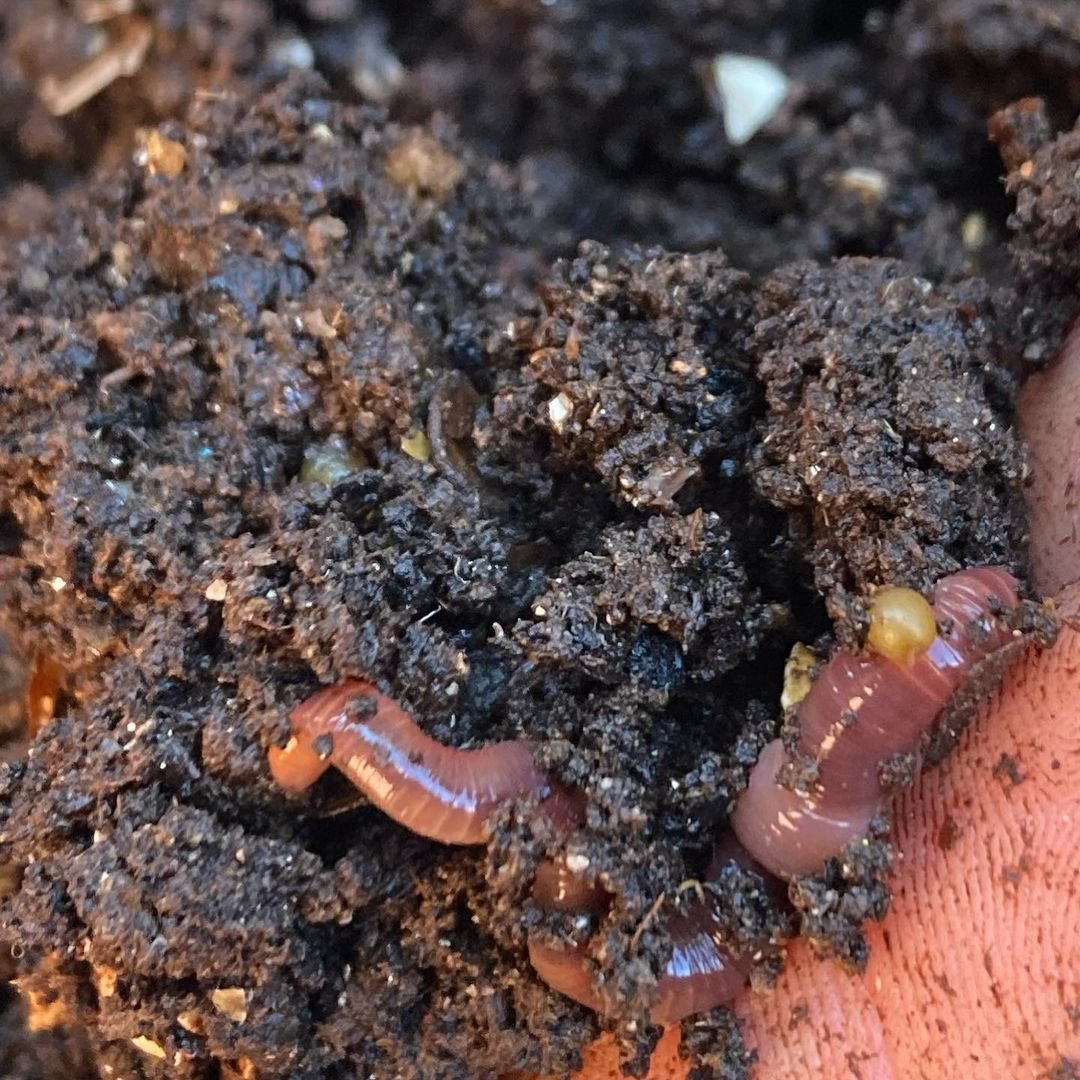
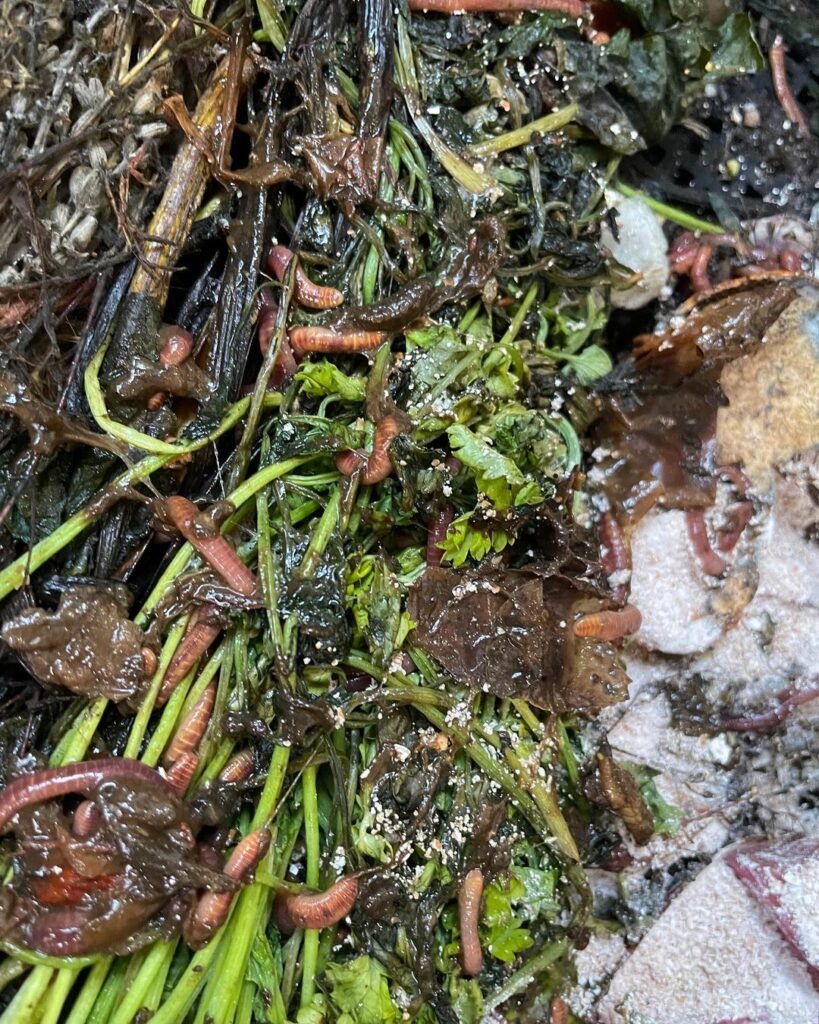
A worm bin is a container that houses worms and their bedding material. The worms eat the organic matter that you add to the bin, such as fruit and vegetable peels, coffee grounds, eggshells, and paper. As they digest the food, they produce worm castings, which are dark, crumbly, and odorless. Worm castings are rich in beneficial microorganisms, enzymes, and plant nutrients, and they can improve the structure, water retention, and fertility of your soil.
Check out Cocopeat: The Green Gardener’s Secret Weapon
How to make a worm bin
You can buy a ready-made worm bin from many online vendors or gardening stores, or you can make your own using a few simple materials. Here are the steps to make a DIY worm bin:
- Choose a container. You can use a plastic or wooden storage bin with a lid, or you can use four old car tires stacked on top of each other. The container should be about 12 to 18 inches deep, and have a surface area of at least one square foot per pound of worms. Avoid metal containers, as they can rust and heat up too much.

- Drill holes. You need to provide ventilation and drainage for your worm bin, so drill about 20 holes of 1/4 inch diameter on the bottom and sides of the bin. If you’re using tires, drill holes on the sides of each tire. You can also drill some small holes on the lid of the bin to allow air circulation.
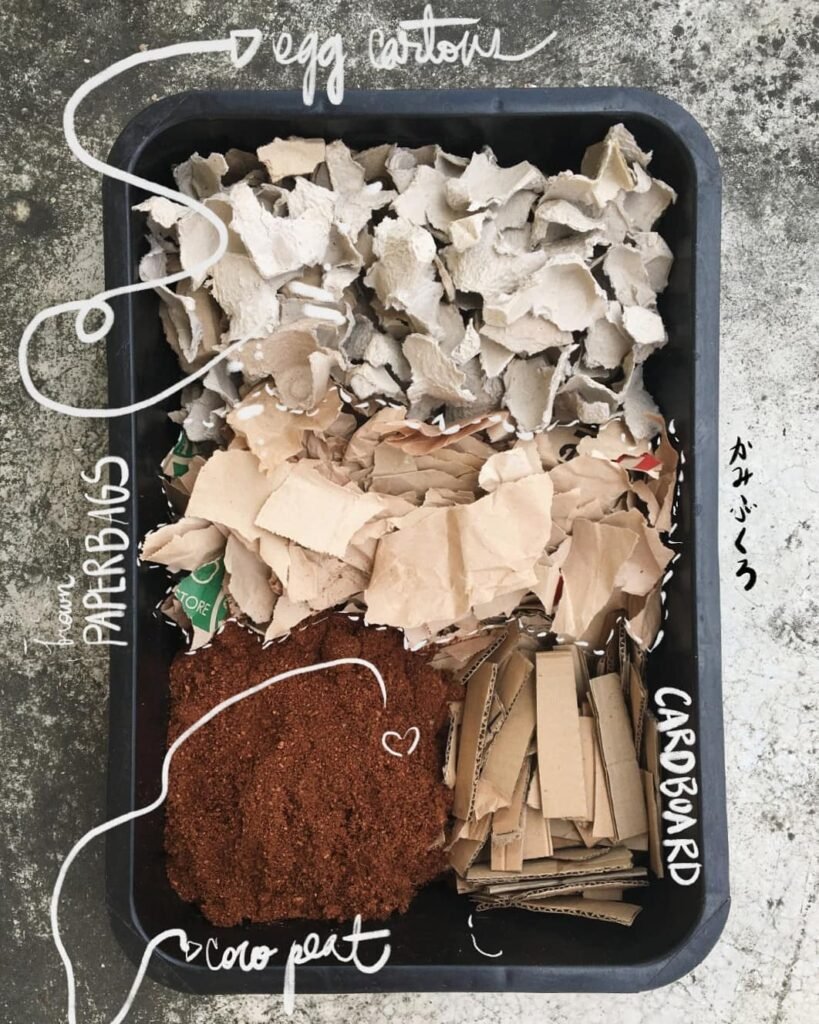
- Prepare the bedding. The bedding is the material that covers the bottom of the bin and provides a comfortable environment for the worms. You can use shredded newspaper, cardboard, coconut coir, peat moss, or straw. Moisten the bedding until it’s damp but not soggy, and fill the bin with about 6 to 8 inches of it. You can also add some soil, sand, or crushed eggshells to provide grit for the worms’ digestion.
- Add the worms. The best worms for vermicomposting are red worms (Lumbricus rubellus) or compost worms (Eisenia fetida), which are different from the earthworms you find in your garden. You can buy them online or from a local worm farm. You’ll need about one pound of worms for every pound of food scraps you produce per day. Gently spread the worms over the bedding and let them burrow into it.

- Feed the worms. You can start feeding the worms after a few days, once they have settled in the bin. You can add fruit and vegetable scraps, coffee grounds and filters, tea bags, eggshells, bread, cereal, and pasta. Avoid meat, dairy, oily foods, citrus, onion, garlic, and spicy foods, as they can attract pests, cause odors, and harm the worms. Cut the food into small pieces and bury it under the bedding in different spots each time. Feed the worms once or twice a week, or whenever the previous food is gone. Don’t overfeed the worms, as this can cause problems with mold, flies, and smells.

Check out Maximizing Soil Bacteria for Thriving Gardens
How to maintain a worm bin
To keep your worm bin healthy and productive, you need to follow some basic maintenance tips:
- Keep the bin moist. The bedding should be damp but not wet, like a wrung-out sponge. If it’s too dry, spray some water on it. If it’s too wet, add some dry bedding or drill more holes for drainage. You can also place a tray under the bin to catch any excess liquid, which is called worm tea. Worm tea is a nutrient-rich liquid fertilizer that you can dilute with water and use on your plants.
- Keep the bin dark. Worms are sensitive to light, so keep the bin in a shady spot and cover it with a lid or a dark cloth. You can also add some leaves or newspaper on top of the bedding to create a dark layer for the worms.
- Keep the bin cool. Worms prefer temperatures between 50 and 75 degrees Fahrenheit, so avoid placing the bin in direct sunlight or near heat sources. If the weather is too hot or cold, you may need to move the bin indoors or insulate it with blankets or Styrofoam.
- Keep the bin aerated. Worms need oxygen to breathe, so make sure the bin is well-ventilated and not too compacted. You can fluff up the bedding with a fork or a stick every few weeks, or add some coarse materials like wood chips or straw to create air pockets.
- Keep the bin clean. Remove any rotten or moldy food from the bin, and wipe off any dirt or debris from the lid and sides. You can also rinse the bin with water once in a while, but make sure to drain it well and replace the bedding.
Check out Understanding and Resolving Bird of Paradise Leaves Curling
How to harvest the worm castings

After two to three months, your worm bin should be full of worm castings, which look like dark, crumbly soil. You can harvest the castings and use them in your garden or pots, or store them in a sealed container for later use. There are several methods to harvest the worm castings, such as:
- The light method. Worms avoid light, so you can use this to separate them from the castings. Dump the contents of the bin on a large sheet of plastic or cardboard, and make several small piles. Shine a bright light on the piles, and wait for the worms to move to the bottom. Scrape off the top layer of castings from each pile, and repeat until you reach the worms. Return the worms to the bin with fresh bedding and food.
- The migration method. Worms follow the food, so you can use this to lure them to one side of the bin. Push the bedding and castings to one half of the bin, and add fresh bedding and food to the other half. Cover the new side with a lid or a cloth, and leave the old side exposed to light. After a few weeks, most of the worms should have migrated to the new side, and you can collect the castings from the old side. Return the worms to the bin and repeat the process on the opposite side.
- The screening method. You can use a mesh screen or a colander to sift the castings from the worms and the bedding. Place the screen over a bucket or a tray, and dump a small amount of the bin contents on it. Shake or rub the material gently, and let the castings fall through the holes. Pick out the worms and any large pieces of bedding or food, and return them to the bin. Repeat until you have harvested all the castings.
Vermicomposting is a fun and rewarding way to turn your kitchen scraps into a valuable fertilizer for your plants. By making a worm bin, you can provide a home for your worms and a source of worm castings for your garden. All you need is a container, some bedding, some worms, and some food scraps. With some simple maintenance and harvesting, you can enjoy the benefits of vermicomposting for years to come.
Learn more about How to Build a Worm Bin in these detailed articles:
How to Make a Worm Composter Using Plastic Buckets
DIY Worm Bin – How To Do It Right
Pingback: Easy Steps to Grow Garlic: From Planting to Harvest
Pingback: Compost: Essential Guide to Choosing the Best for Your Plant
Pingback: The Ultimate Guide to Chicken Manure Pellets: Benefits, Application and Best Practices