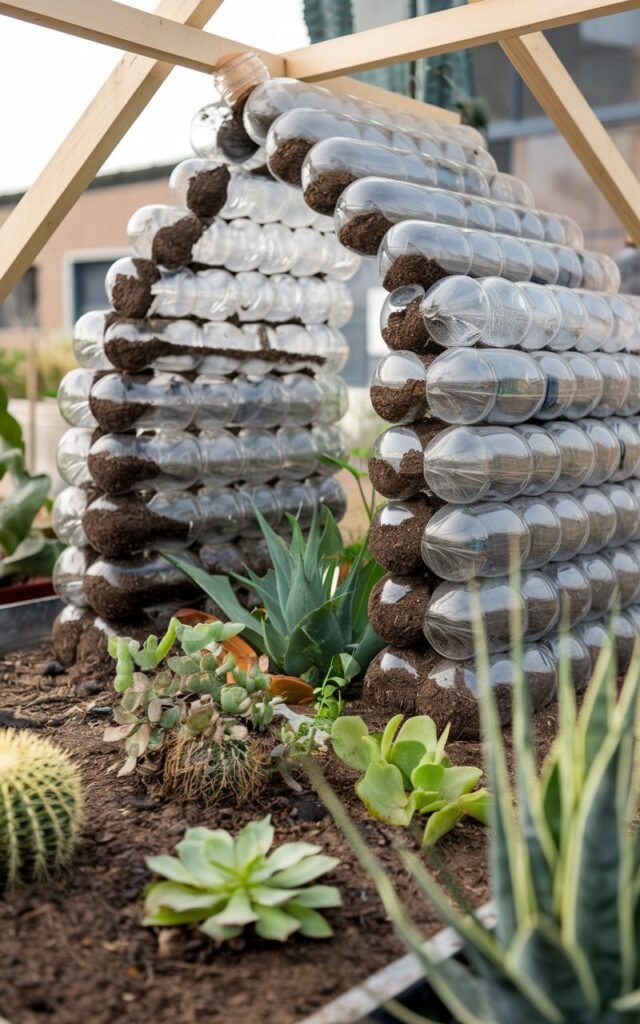
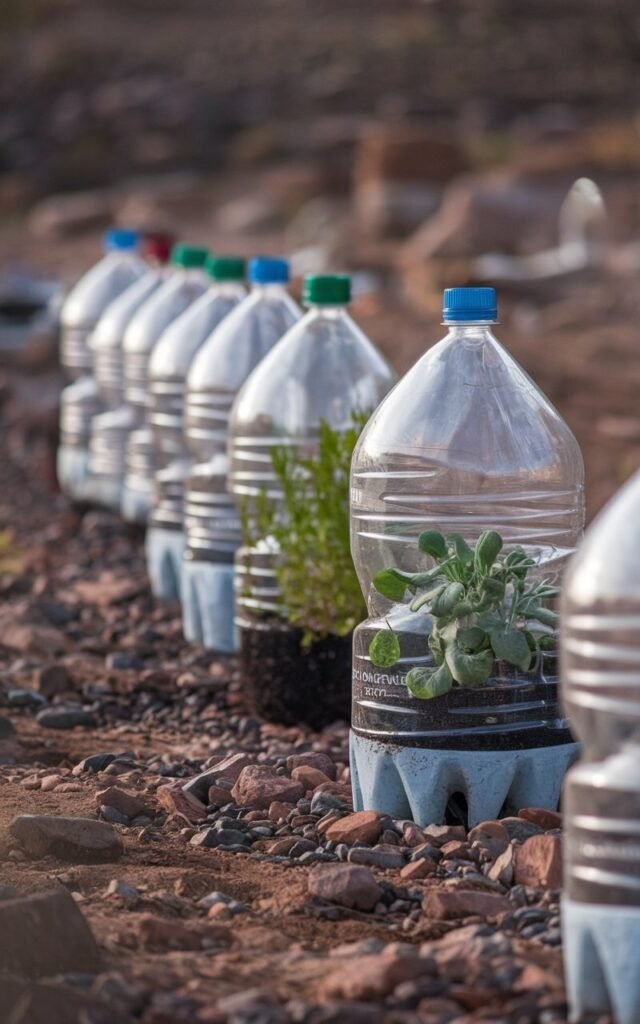
Learn how to create a mini greenhouse using a plastic bottle. Perfect for small spaces, seed starting and eco-friendly gardening. Easy DIY guide with step-by-step instructions.
Making a mini greenhouse from a plastic bottle is a fun, easy and eco-friendly way to start seeds or grow small plants. This project is great for gardeners with limited space or those looking to recycle household items. In this guide, we’ll walk you through the process of creating your own mini greenhouse using a plastic bottle.
Why Make a Mini Greenhouse?

Before we dive into the how-to, let’s look at why you might want to make a mini greenhouse:
- Perfect for small spaces
- Ideal for starting seeds
- Protects young plants from pests and harsh weather
- Helps maintain humidity and warmth
- Recycles plastic bottles, reducing waste
- Cost-effective gardening solution
Materials You’ll Need
To make your mini greenhouse, gather these items:
- A clean, clear plastic bottle (2-liter size works well)
- Sharp scissors or a craft knife
- Small rocks or pebbles
- Potting soil
- Seeds or small plants
- Tape (optional)
- A marker or pen
Step-by-Step Instructions
1. Prepare the Bottle
Start by removing the label from your plastic bottle. Wash the bottle thoroughly with soap and water, then rinse well. Make sure it’s completely dry before you begin.
2. Cut the Bottle
Using your scissors or craft knife, carefully cut the bottle in half horizontally. Be sure to cut slowly and evenly for the best results. If you’re using a craft knife, you might want to score the bottle first, then carefully cut along the scored line.
3. Create Drainage Holes
In the bottom half of the bottle, use your scissors or knife to poke several small holes. These will serve as drainage holes for your plants. Make about 5-7 holes, each about 1/4 inch in diameter.
4. Add Rocks and Soil
Place a layer of small rocks or pebbles in the bottom of your bottle. This helps with drainage and prevents soil from clogging the holes you just made. Then, add potting soil on top of the rocks, filling the bottle about 2/3 full.
5. Plant Your Seeds or Plants
Now it’s time to add your plants! If you’re starting from seeds, plant them according to the instructions on the seed packet. If you’re using small plants, carefully transplant them into your mini greenhouse.
6. Water Your Plants
Gently water your newly planted seeds or plants. Be careful not to overwater – the soil should be moist but not soggy.
7. Create the Greenhouse Top
Take the top half of your bottle and make a few small holes in it for ventilation. You can do this by carefully poking holes with a heated needle or a small drill bit.
8. Assemble Your Greenhouse
Place the top half of the bottle over the bottom half, creating your greenhouse. You can secure the two halves with tape if you like, but it’s not necessary.
9. Find a Good Spot
Place your mini greenhouse in a spot that gets plenty of light but is protected from direct midday sun and strong winds.
Caring for Your Mini Greenhouse

To keep your plants happy in their new home:
- Check the soil moisture regularly. Water when the top of the soil feels dry.
- Open the cap of the bottle for a few hours each day to allow fresh air circulation.
- If condensation builds up excessively, remove the top for a while to let excess moisture escape.
- As your plants grow, you may need to transplant them to larger containers.
Tips for Success
- Choose plants that stay relatively small or start seeds for later transplanting.
- Use a clear bottle for maximum light penetration.
- Clean your mini greenhouse between uses to prevent disease.
- Experiment with different plants to see what grows best in your climate and conditions.
Troubleshooting Common Issues
Plants Not Growing
If your plants aren’t thriving, check these factors:
- Light: Ensure they’re getting enough, but not too much, sunlight.
- Water: Make sure the soil isn’t too wet or too dry.
- Temperature: Some plants are sensitive to temperature extremes.
Mold Growth
If you notice mold:
- Increase ventilation by opening the cap more often.
- Reduce watering slightly.
- Clean the inside of the greenhouse with a mild soap solution.
Creating a mini greenhouse from a plastic bottle is a simple, fun project that can help you start your gardening journey or expand your current garden. It’s an excellent way to recycle, save space and grow plants in a controlled environment. Whether you’re starting seeds for your outdoor garden or growing herbs on your windowsill, this DIY mini greenhouse can be a valuable addition to your gardening toolkit.
Remember, gardening is all about experimentation and learning. Don’t be afraid to try different plants and techniques in your mini greenhouse. With a little care and attention, you’ll soon be enjoying the fruits (or vegetables, or flowers) of your labor!
Happy gardening!