Unlock the secrets to a lush, healthy lawn with a lawn scarifier. Our comprehensive guide explains what a scarifier is, how it works and provides step-by-step instructions for using it effectively to remove thatch, aerate the soil and promote vigorous grass growth.
A well-manicured lawn is the pride and joy of many homeowners, but maintaining a lush, vibrant carpet of grass takes more than just regular mowing. Over time, thatch – a dense layer of dead grass, roots and other organic matter – can accumulate on the surface, preventing air, water and nutrients from reaching the soil. This is where a lawn scarifier comes into play. In this article, we’ll explore what a lawn scarifier is, how it works, and provide you with a step-by-step guide on how to use it effectively.
Understanding Lawn Thatch

Before we dive into the world of lawn scarifiers, it’s essential to understand the problem they help solve: thatch buildup. Thatch is a natural byproduct of grass growth, consisting of dead grass stems, roots, and other organic matter. A thin layer of thatch (around 1/2 inch) can be beneficial as it helps insulate the soil and retain moisture. However, when the thatch layer becomes too thick (over 1 inch), it can create a barrier that prevents air, water and nutrients from reaching the grassroots, leading to a weakened, unhealthy lawn.
What is a Lawn Scarifier?

A lawn scarifier, also known as a dethatcher or power rake, is a lawn care tool designed to remove excessive thatch buildup from your lawn. It features a series of sharp, rigid tines or blades that penetrate the soil surface and tear through the dense, matted layer of thatch, lifting it up and out of the grass.
There are two main types of lawn scarifiers
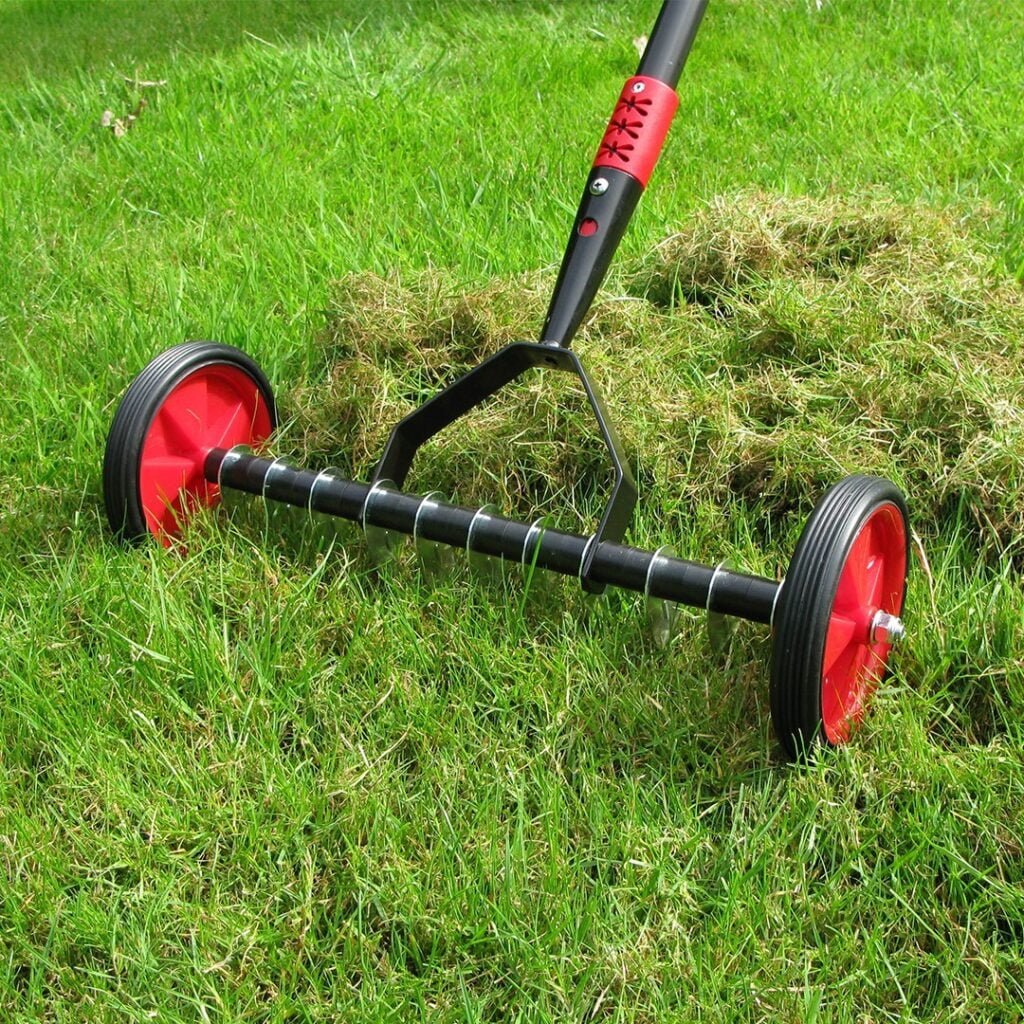
- Manual Scarifiers: These are push-along tools with a cylindrical drum or rake-like tines that you operate manually. They’re best suited for small to medium-sized lawns and require physical effort to use.
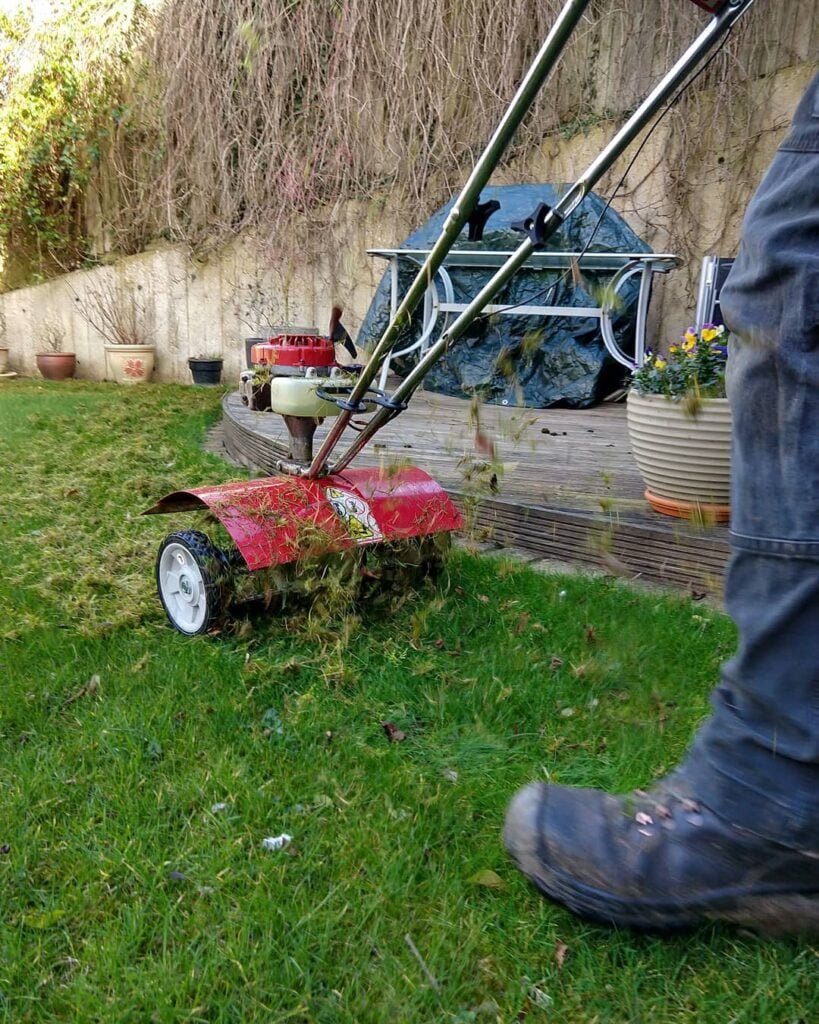
- Power Scarifiers: These are motorized, walk-behind or tractor-mounted machines that use rotating tines or flails to aggressively remove thatch from larger areas. They’re more efficient and less labor-intensive but also more expensive.
When to Use a Lawn Scarifier

The best time to scarify your lawn depends on your grass type and local climate. Generally, it’s recommended to scarify cool-season grasses (like fescue and bluegrass) in early spring or fall when the grass is actively growing. For warm-season grasses (like Bermuda and zoysia), scarify in late spring or early summer.
It’s important to avoid scarifying during periods of drought or extreme heat, as this can stress the grass and make it more susceptible to damage.
Step-by-Step Guide to Using a Lawn Scarifier
Prepare Your Lawn
Before scarifying, mow your lawn to a shorter height than usual, ideally around 1-2 inches. This will make it easier for the tines to penetrate the thatch layer.
Mark Your Lawn
Use string or chalk to mark off sections of your lawn, making it easier to work methodically and ensure even coverage.
Set the Depth
Adjust the depth settings on your scarifier according to the manufacturer’s instructions. Start with a shallower depth setting (around 1/4 inch) for the first pass, then increase the depth if needed for subsequent passes.
Scarify in Overlapping Rows
Begin scarifying by pushing or operating the machine in straight, overlapping rows across your lawn. Overlap each pass by a few inches to ensure complete coverage.
Rake Up Thatch
After scarifying, use a lawn rake or leaf rake to gather up the loosened thatch and debris. This will help prevent the thatch from re-compacting on the lawn.
Overseed (Optional)
Scarifying can create ideal conditions for overseeding, as it exposes the soil and allows new grass seed to make better contact with the ground. If you plan to overseed, do so immediately after scarifying and raking up the thatch.
Water and Fertilize
After scarifying and (optionally) overseeding, water your lawn thoroughly to help the new grass seed germinate and encourage healthy regrowth. Consider applying a balanced fertilizer to provide essential nutrients for your lawn’s recovery.
Allow Recovery Time
It’s important to give your lawn time to recover after scarifying. Avoid heavy foot traffic or mowing for at least a week or two, or until the grass has regrown to a suitable height.
Tips for Effective Scarifying
- Rent or Borrow: If you have a small lawn or only need to scarify occasionally, consider renting or borrowing a power scarifier instead of purchasing one.
- Work in Stages: For larger lawns or heavily thatched areas, divide the lawn into sections and scarify one section at a time to avoid overwhelming your lawn.
- Bag or Rake Clippings: Be sure to remove all loosened thatch and debris from the lawn after scarifying to prevent it from re-compacting.
- Avoid Over-Scarifying: Scarifying too frequently or too aggressively can damage your grass and expose bare soil, making it susceptible to erosion and weed growth.
A lawn scarifier is an essential tool for maintaining a healthy, vibrant lawn by removing excessive thatch buildup. By following the steps outlined in this guide and using your scarifier at the appropriate times, you can ensure that air, water, and nutrients can reach the grassroots, promoting vigorous growth and a lush, green carpet of grass. Remember to be patient and give your lawn time to recover after scarifying, and you’ll be rewarded with a beautiful, well-maintained outdoor space.